
6. Web library - Django
6.1. Introduction to Django Libraries
Django is an open source model-view-controller (MVC) style web application framework driven by the Python programming language, and it is also the mainstream framework for web development. We can install the Python-Django library on the Lubancat board and use the library through some simple operations. Deploy a simple web page on our board.
6.2. Django library installation
We use the apt tool to install.
# Enter the following command in the terminal to install the Django library:
sudo apt -y install python3-django
Wait until the installation is complete.
6.3. Django library uses
After installing the corresponding library, we can use the library to deploy a simple web page.
6.3.1. New project directory
Create a new directory first, which is convenient for project management, and the file directory is relatively simple.
# Create a new directory to store our web projects and enter the directory
mkdir webapp
cd webapp
6.3.2. Add code files and configuration
Using Django’s built-in manager django-admin, we can quickly create a project template.
# Enter the following command in the terminal:
django-admin startproject Lubancat

# After the command is executed, the project folder will be automatically generated in the current directory: Lubancat.And then enter the folder
cd ./Lubancat/
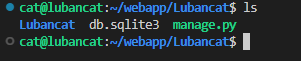
The manager that comes with Django has already generated a project template for us, and you can see the following content in the directory:
Next, we need to modify the configuration file in the project to allow external hosts to access our Lubancat board. Go to the Lubancat directory in the project folder Lubancat and modify the settings.py file.
# Enter the following command in the terminal:
cd ./Lubancat/

# Modify the configuration file
vim settings.py
# Find the ALLOWED_HOSTS configuration, and modify it to the following content, save and exit:
ALLOWED_HOSTS = ['*']
6.3.3. Start webapp
Go back to the project folder Lubancat, run the manage.py file in its directory, and start the server:
# Enter the following command in the terminal, and the IP address depends on the specific network port ip of the board:
sudo python3 manage.py runserver 192.168.103.115:5001
After a while, you can find that the server startup information has been output normally.
The effect is as follows:
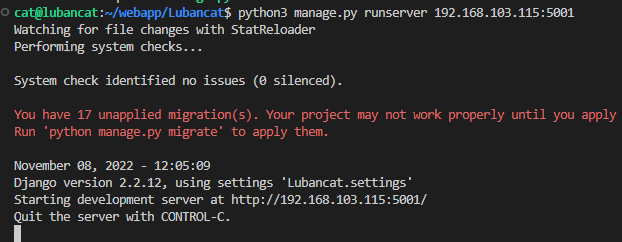
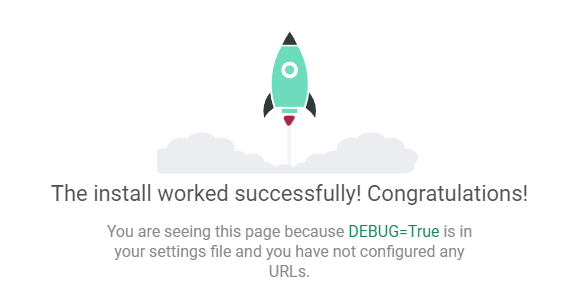
The webapp has started normally, and the terminal has printed out the service information. The information indicates that the web has been mapped to the host we set the IP address to 192.168.103.115 and the port number to 5001 in the previous code. Therefore, we can visit `http://192.168.103.115:5001/ <http://192.168.103.115:5001/>`_to deployed webpage through this URL.
6.3.4. Django Version Notes
Note: The Django installed using the apt method in the Lubancat board system is version 1.11.29. If you need to install a specific version of Django, you can use pip to install it, as follows:
# Enter the following command in the terminal to install the specified version of Django:
pip3 install Django==3.1.7
After the installation is complete, according to the prompt, put the management tool directory in the environment variable, or put the management tool in the environment variable.

# Enter the following command in the terminal to put the management tool in the environment variable:
sudo cp /home/cat/.local/bin/django-admin /usr/bin/
For more information about the use of the Python Django library, please refer to Django official documentation