14. Audio
Video introduction to this chapter:

“42-Lubancat audio playback and recording”
https://www.bilibili.com/video/BV14s4y1r7Ud/
Audio and video are widely used by human beings to obtain information in their daily lives. Its essence is the collection, storage and playback of sound and image information. In this chapter, we will introduce the basic concepts related to audio and video playback, and show you how to play audio and video on the board.
14.1. Sound card device
14.1.1. Get a recording device
1 2 3 4 5 6 7 8 9 10 11 12 13 | #Get a recording device
arecord -l
#Example
root@lubancat:~# arecord -l
**** List of CAPTURE Hardware Devices ****
card 1: rockchiprk809co [rockchip,rk809-codec], device 0: fe410000.i2s-rk817-hifi rk817-hifi-0 [fe410000.i2s-rk817-hifi rk817-hifi-0]
Subdevices: 1/1
Subdevice #0: subdevice #0
card 2: Camera [USB Camera], device 0: USB Audio [USB Audio]
Subdevices: 1/1
Subdevice #0: subdevice #0
root@lubancat:~#
|
card 1:Onboard audio processing chip rockchip RK809card 2:digital microphone with usb cameraCard 1 and card 2 are the devices registered in Linux, we can call these interfaces through the application program
14.1.2. Get playback device
1 2 3 4 5 6 7 8 9 10 11 | #Get a recording device
aplay -l
root@lubancat:~# aplay -l
**** List of PLAYBACK Hardware Devices ****
card 0: rockchiphdmi [rockchip,hdmi], device 0: fe400000.i2s-i2s-hifi i2s-hifi-0 [fe400000.i2s-i2s-hifi i2s-hifi-0]
Subdevices: 1/1
Subdevice #0: subdevice #0
card 1: rockchiprk809co [rockchip,rk809-codec], device 0: fe410000.i2s-rk817-hifi rk817-hifi-0 [fe410000.i2s-rk817-hifi rk817-hifi-0]
Subdevices: 1/1
Subdevice #0: subdevice #0
|
card 0:HDMI sound output.card 1:Onboard audio processing chip rockchip RK809.card 0 and card 1 are the devices registered in Linux, we can call these interfaces through the application.
14.1.3. Sound card driver directory
View the sound card driver directory
1 | ls /dev/snd/
|
1 2 3 4 | root@lubancat:~# ls /dev/snd/
by-id controlC0 controlC2 pcmC1D0c pcmC2D0c timer
by-path controlC1 pcmC0D0p pcmC1D0p seq
root@lubancat:~#
|
controlC0: used for sound card control, C0 means sound card 0, corresponding to the HDMI sound output above.
controlC1: used for sound card control, C1 means sound card 1, corresponding to the onboard audio processing chip rockchip RK809 above.
controlC2: used for sound card control, C2 means sound card 2, corresponding to the digital microphone that comes with the usb camera above.
pcmC0D0p: The pcm device used for playback, the last “p” is the abbreviation of playback, which means playback.
pcmC1D0c: pcm device for recording, the last “c” is the abbreviation of capture, which means recording.
pcmC1D0p: The pcm device used for playback, the last “p” is the abbreviation of playback, which means playback.
pcmC2D0c: pcm device for recording, the last “c” is the abbreviation of capture, which means recording.
timer: timer
by-path: saves the correspondence between devices
1 2 3 4 5 6 | root@lubancat:~# ls -l /dev/snd/by-path/
total 0
lrwxrwxrwx 1 root root 12 Feb 14 18:11 platform-fd880000.usb-usb-0:1.4:1.2 -> ../controlC2
lrwxrwxrwx 1 root root 12 Feb 14 18:11 platform-hdmi-sound -> ../controlC0
lrwxrwxrwx 1 root root 12 Feb 14 18:11 platform-rk809-sound -> ../controlC1
root@lubancat:~#
|
It can be seen that there is a correspondence between each control, and these correspondences correspond to the above
card 0,card 1,card 2.
14.2. Configure sound card
14.2.1. amixer
Use amixer to get the detailed configuration of the sound card.
Before using amixer, you need to know the device number of the sound card you need to configure (card x, such as card 0).
The following takes rockchip RK809 (card 1) as an example to configure.
1 2 | #List the controllers that can control card 1
amixer controls -c 1
|
1 2 3 4 5 6 | root@lubancat:~# amixer controls -c 1
numid=2,iface=MIXER,name='Capture MIC Path'
numid=4,iface=MIXER,name='Capture Volume'
numid=1,iface=MIXER,name='Playback Path'
numid=3,iface=MIXER,name='Playback Volume'
root@lubancat:~#
|
Capture MIC Path: Configure the recording method, you can configure the microphone to be turned off and on, and configure the microphone recording method, gain method, noise reduction, etc. (provided that the sound card supports the settings)Capture Volume: Configure the size of the recording soundPlayback Path: Configure the sound playback method, you can configure the sound playback on and off, you can configure headphones, speakers, etc. to play music, and you can configure noise reduction, gain methods, etc. (provided that the sound card supports settings)Playback Volume: Configure the size of the playback sound
1 2 3 4 5 6 7 8 9 10 11 12 13 14 15 16 17 18 19 20 21 22 23 24 25 26 27 28 29 30 31 32 33 34 | #List all the values that can be configured by the card 1 controller
amixer contents -c 1
root@lubancat:~# amixer contents -c 1
numid=2,iface=MIXER,name='Capture MIC Path'
; type=ENUMERATED,access=rw------,values=1,items=4
; Item #0 'MIC OFF'
; Item #1 'Main Mic'
; Item #2 'Hands Free Mic'
; Item #3 'BT Sco Mic'
: values=1
numid=4,iface=MIXER,name='Capture Volume'
; type=INTEGER,access=rw---R--,values=2,min=0,max=255,step=0
: values=255,0
| dBscale-min=-95.00dB,step=0.37dB,mute=0
numid=1,iface=MIXER,name='Playback Path'
; type=ENUMERATED,access=rw------,values=1,items=11
; Item #0 'OFF'
; Item #1 'RCV'
; Item #2 'SPK'
; Item #3 'HP'
; Item #4 'HP_NO_MIC'
; Item #5 'BT'
; Item #6 'SPK_HP'
; Item #7 'RING_SPK'
; Item #8 'RING_HP'
; Item #9 'RING_HP_NO_MIC'
; Item #10 'RING_SPK_HP'
: values=2
numid=3,iface=MIXER,name='Playback Volume'
; type=INTEGER,access=rw---R--,values=2,min=0,max=252,step=0
: values=252,252
| dBscale-min=-95.00dB,step=0.37dB,mute=0
root@lubancat:~#
|
You can see that the values that can be configured by each controller are listed, as well as the current value.
1 2 3 4 5 6 7 8 9 10 11 12 13 14 15 16 17 18 19 20 21 22 23 24 25 26 | #Get the value of the corresponding controller configuration.
amixer -c $card_id cget $id
#Set the value of the corresponding controller configuration.
amixer -c $card_id 1 cset $id $value
#Example: Get the sound playback volume of card1
root@lubancat:~# amixer -c 1 cget numid=3
numid=3,iface=MIXER,name='Playback Volume'
; type=INTEGER,access=rw---R--,values=2,min=0,max=252,step=0
: values=252,252
| dBscale-min=-95.00dB,step=0.37dB,mute=0
1. values=2 : need to configure two values
2. min=0 : The configurable minimum value is 0
3. max=252: The maximum configurable value is 252
4. values=252,252: the current value is 252,252 (left and right channels)
#Set the sound playback volume of card1 to 150,150.
root@lubancat:~# amixer -c 1 cset numid=3 "150,150"
numid=3,iface=MIXER,name='Playback Volume'
; type=INTEGER,access=rw---R--,values=2,min=0,max=252,step=0
: values=150,150
| dBscale-min=-95.00dB,step=0.37dB,mute=0
root@lubancat:~#
You can see that the configuration is completed successfully.
|
Configure sound playback output
1 2 3 4 5 6 7 8 9 10 11 12 13 14 15 16 17 18 19 20 21 22 23 24 25 26 27 28 29 30 31 32 33 34 35 36 37 38 39 40 41 | #Example: Obtain the way to play the sound of card1
numid=1,iface=MIXER,name='Playback Path'
; type=ENUMERATED,access=rw------,values=1,items=11
; Item #0 'OFF'
; Item #1 'RCV'
; Item #2 'SPK'
; Item #3 'HP'
; Item #4 'HP_NO_MIC'
; Item #5 'BT'
; Item #6 'SPK_HP'
; Item #7 'RING_SPK'
; Item #8 'RING_HP'
; Item #9 'RING_HP_NO_MIC'
; Item #10 'RING_SPK_HP'
: values=2
root@lubancat:~#
1. values=1 : need to configure 1 value
2. OFF: off
3. SPK: speaker playback
4. HP: Headphone playback
5. SPK_HP: speaker and microphone playback
6. values=2: The current playback mode is SPK (speaker playback)
#Set the sound playback mode of card1 to headphone
root@lubancat:~# amixer -c 1 cset numid=1 "HP"
numid=1,iface=MIXER,name='Playback Path'
; type=ENUMERATED,access=rw------,values=1,items=11
; Item #0 'OFF'
; Item #1 'RCV'
; Item #2 'SPK'
; Item #3 'HP'
; Item #4 'HP_NO_MIC'
; Item #5 'BT'
; Item #6 'SPK_HP'
; Item #7 'RING_SPK'
; Item #8 'RING_HP'
; Item #9 'RING_HP_NO_MIC'
; Item #10 'RING_SPK_HP'
: values=3
root@lubancat:~#
|
You can see that the configuration is completed successfully.
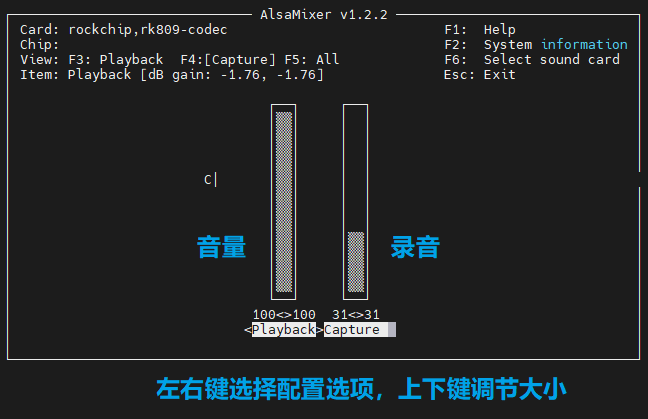
14.2.2. alsamixer
This is a command-line graphical configuration tool
1 | alsamixer
|
Press F6 to select the sound card you want to configure.

Press F4 to enter recording setup mode
14.3. Record and play
14.3.1. Command Line
14.3.1.1. Recording
The recording uses the arecord command, here are the simple commands.
1 2 | #Get a recording device
arecord -l
|
1 2 | #Use sound card 1, cd sound quality, recording 10s
arecord -f cd -Dhw:1 -d 10 test.wav
|
-f is to set the recording quality, cd means the recording quality is cd level
-d is the specified recording time, the unit is s
-Dhw:1 is to use card 1 as the recording device
test.wav is the generated recording file name
More commands need to be explored by yourself
1 2 | #Get more usage
arecord -h
|
14.3.1.2. Audio Player
1 2 | #get playback device
aplay -l
|
Please confirm the configuration of the sound card controller before playing the sound. If you use rk809 as the audio output, debian users need to configure the audio output mode of rk809 (the default is SPK). The specific method is above.
1 2 | #Play the recording produced above
aplay -Dhw:1 test.wav
|
The aplay command can only play audio in wav format
More commands need to be explored by yourself
1 2 | #Get more usage
aplay -h
|
14.3.1.3. Play while recording
Use arecord and aplay two tools
1 2 | #Use card 1 to record and use card 1 to play
sudo arecord -f cd -Dhw:1 | aplay -Dhw:1
|
14.3.1.4. Multi-format audio playback
If you need to play more common file formats (mp3, flac, etc.) other than wav format, you can refer to the method.
SoX is a cross-platform command-line utility that can convert audio files of various formats to other formats as needed. SoX can also apply various effects to input audio files, and also supports playback and recording of audio files on most platforms.
This section is only played for a simple test. For more usage methods, please refer to the official documentation: http://sox.sourceforge.net/
Install sox with the following command, libsox-fmt-all contains decoders for each format.
1 | sudo apt install sox libsox-fmt-all
|
Instructions:
1 2 3 4 5 6 7 8 | #Use card 1 to play mp3 audio
play -d hw:1 xxx.mp3
#Use card 1 to play wav audio
play -d hw:1 xxx.wav
#Use card 1 to play flac audio
play -d hw:1 xxx.flac
|
14.3.2. Desktop
14.3.2.1. audio management
Debian users need to install by themselves
1 2 | #install software
sudo apt install pavucontrol
|
Open the software (method 1)
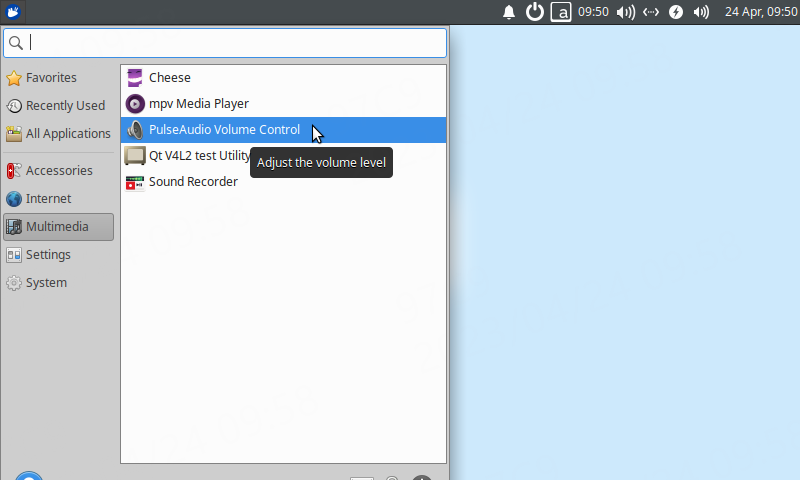
Open the software (method 2)
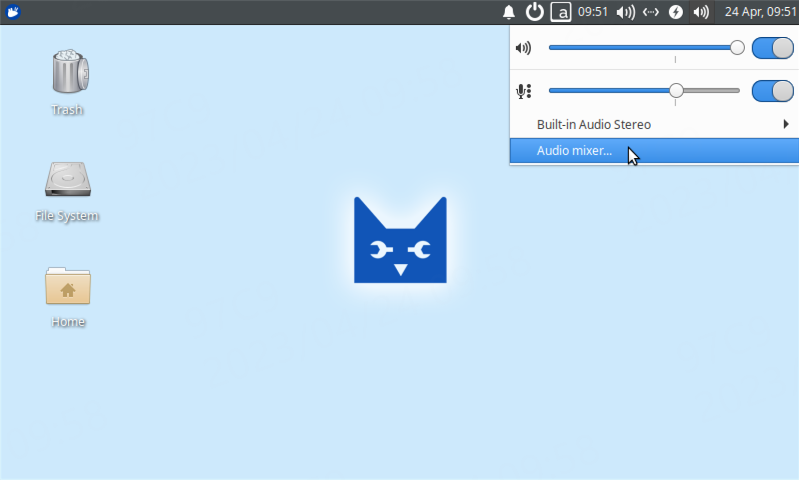
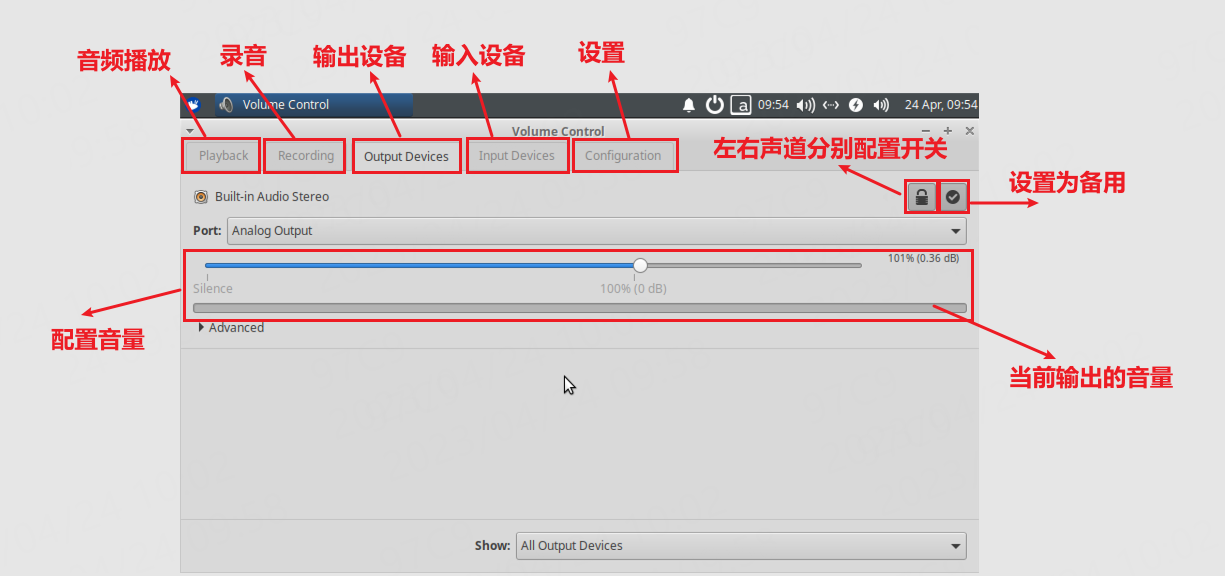
Output device configuration
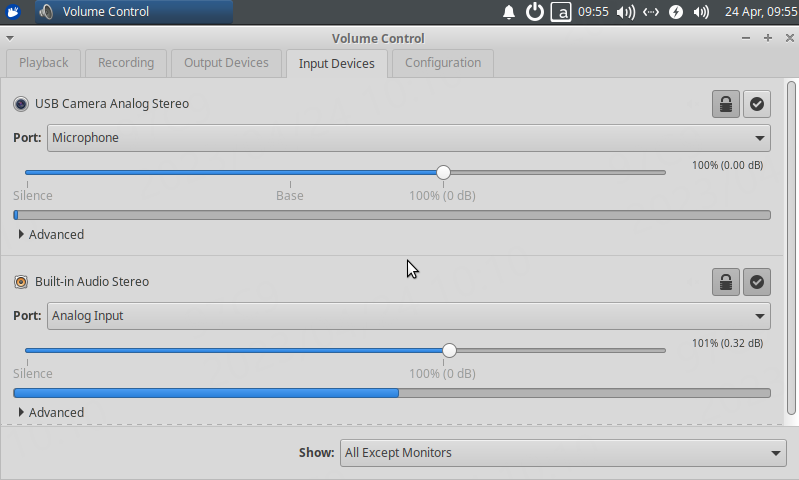
Input device configuration
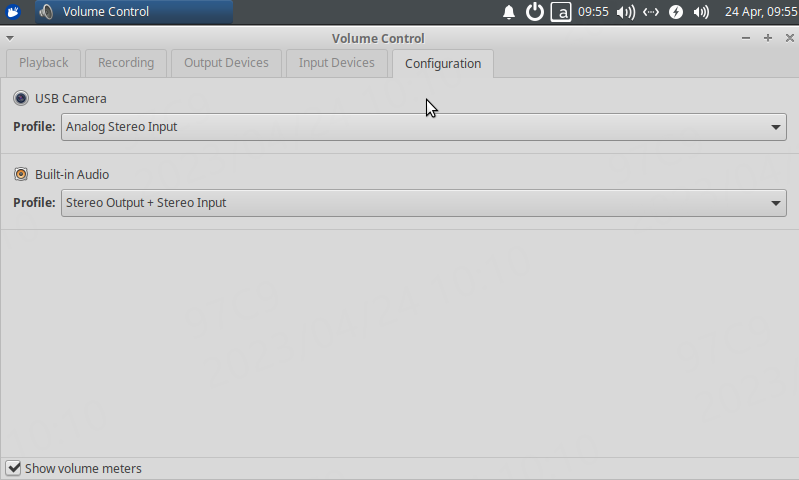
Device Configuration
14.3.2.2. recording
1 2 | #Install software
sudo apt install gnome-sound-recorder
|
Open software
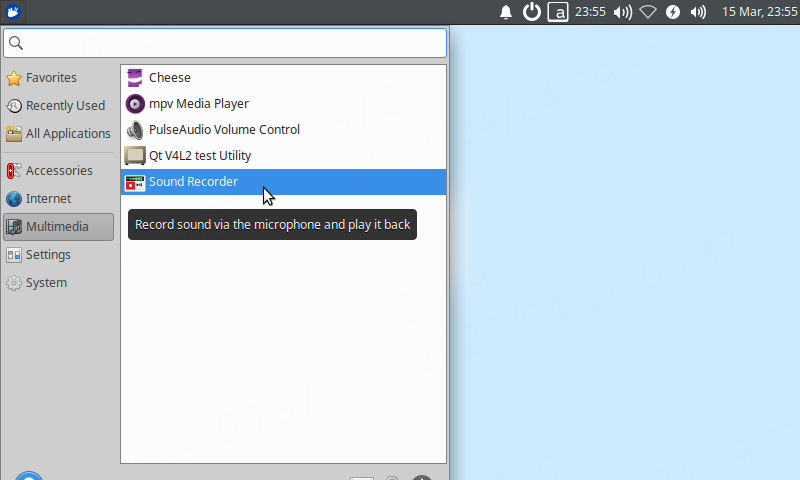
Software settings
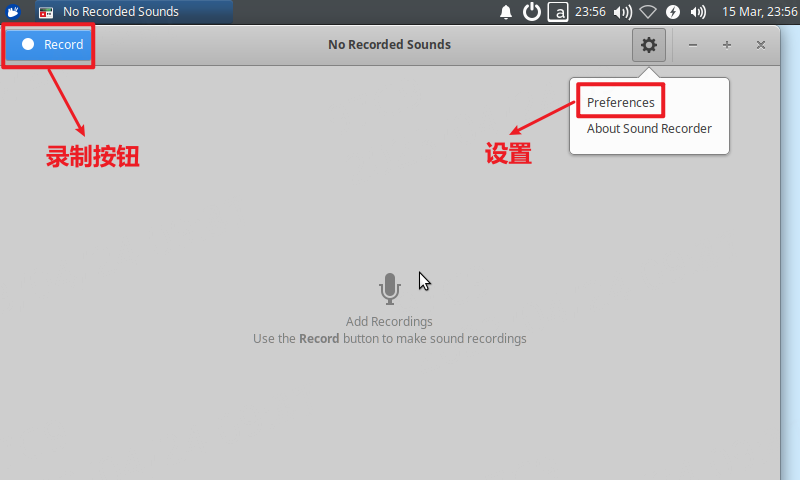
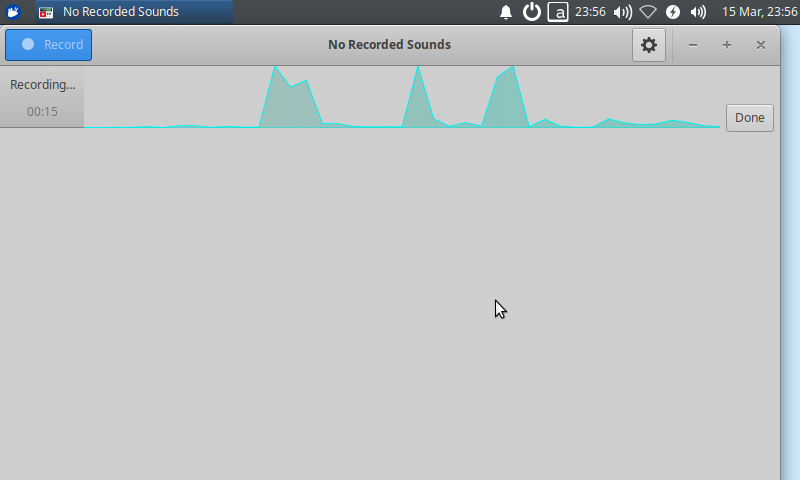
Press record in the upper left corner to record, press done to end the recording, the recording path is /home/cat/Recordings . If there is nothing in the waveform graph when recording, check whether the following earphones are plugged in.
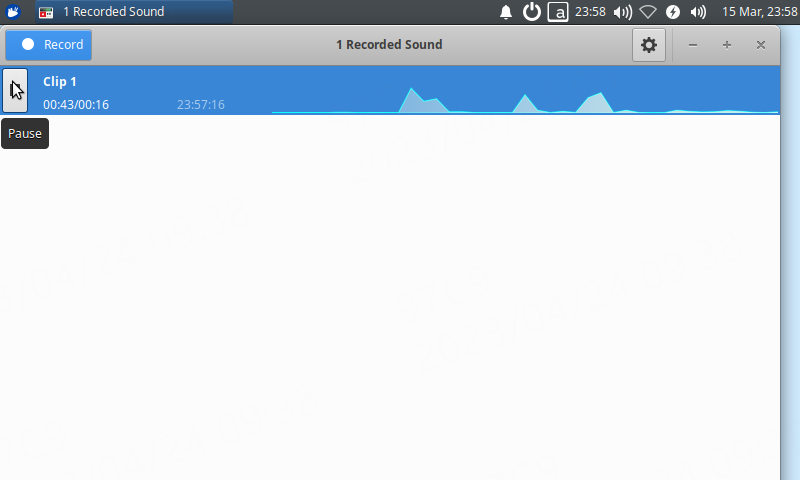
Play recording
Of course, you can also install other more professional and powerful recording software.
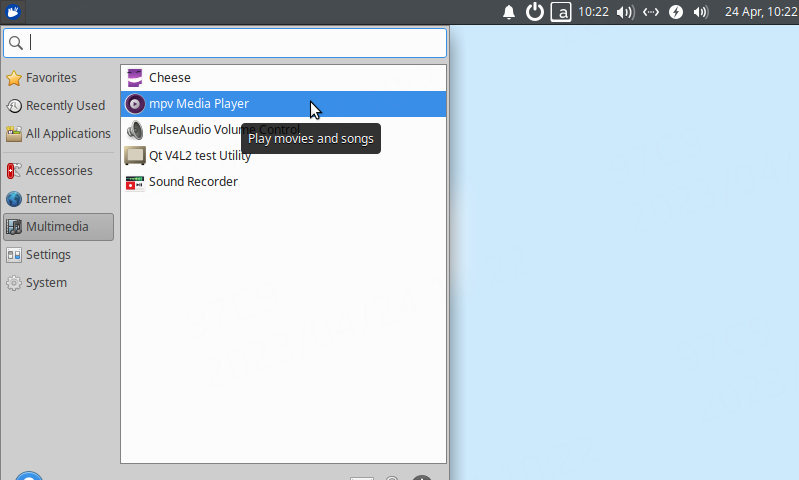
14.3.2.3. Play music
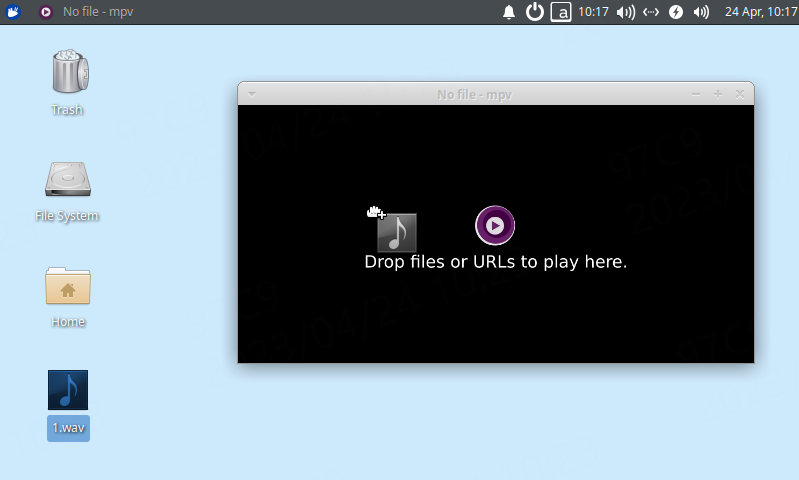
The default music software is mpv Media Player. If you want to use other music players, you can install them according to the installation method of the player.
Open method 1
Then, you can drag the file into the mpv software
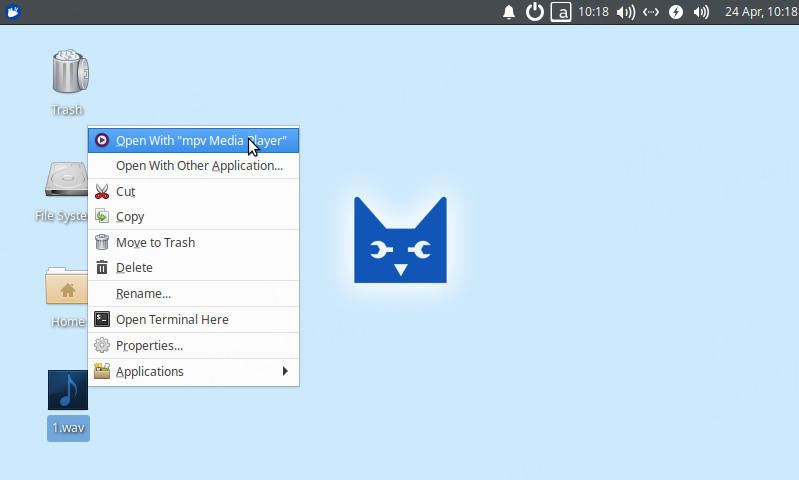
Open method 2
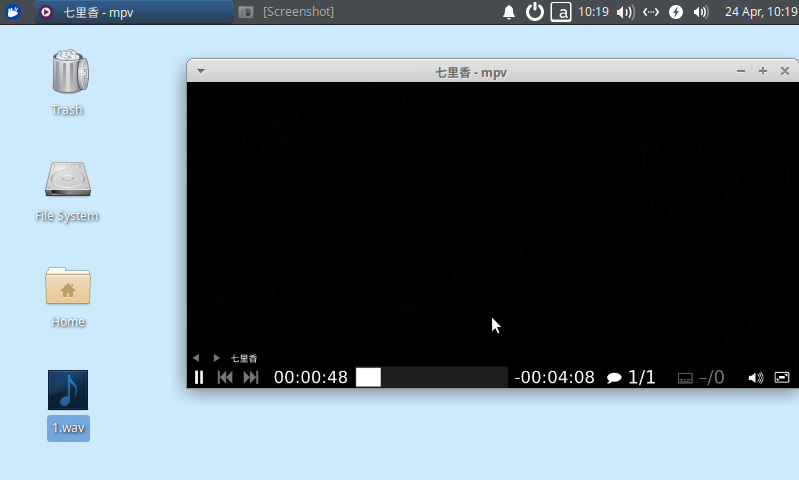
Player interface
14.3.2.3.1. ffplay
ffplay is the player that comes with FFMpeg. It uses the ffmpeg decoding library and the sdl library for video rendering and display. It is also the design standard that players in the industry initially refer to.
ffplay can play both audio and video, and is one of the basic tools commonly used by staff engaged in audio and video related development.
LubanCat-RK series boards have pre-installed ffmpeg toolkit on the system, so it can be used without installation.
ffplay needs to use a GUI to play, if there is no GUI, Or it cannot be played normally if there is no SSH connection terminal connection with a graphical interface of X-server. (eg: mobaxterm)
It is recommended to use mobaxterm to connect to the LubanCat board with SSH, and then start the X-server service to watch or play music.
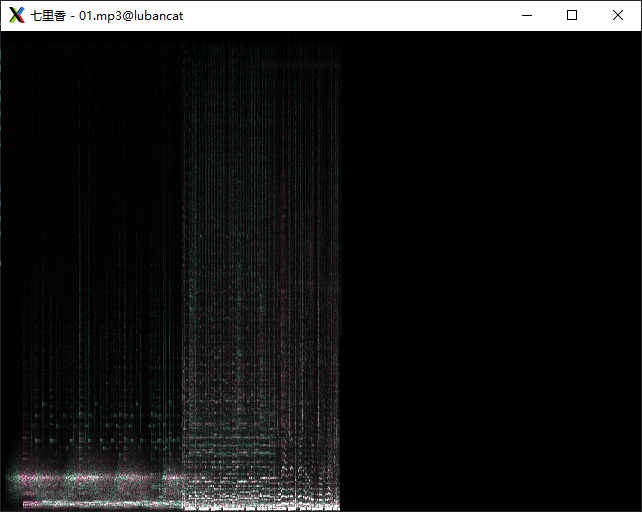
1 2 | #ffplay is compatible with many types of audio formats
ffplay xxx.mp3
|
As shown below:
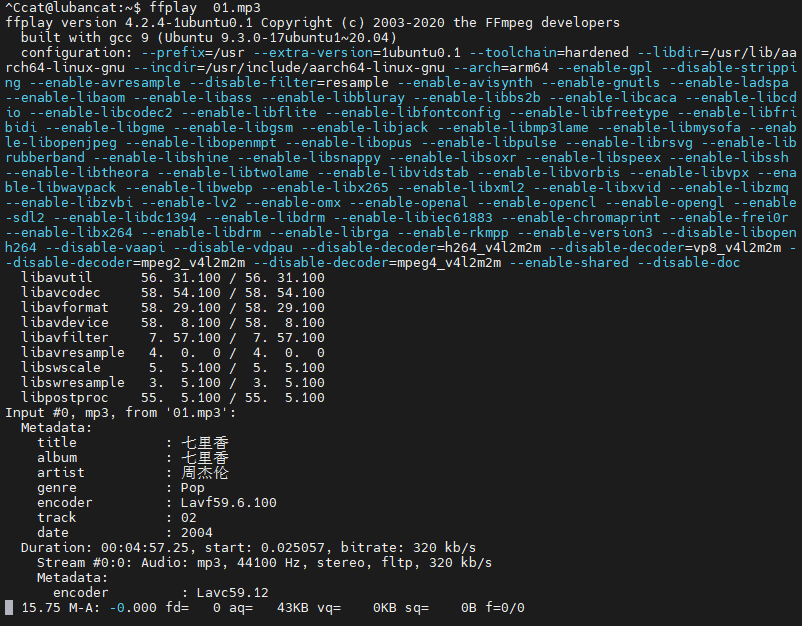
If you use ssh to connect to the LubanCat-RK series board, the remote connection client with X server service will automatically open the spectrogram for playing music.
In addition to the default method of opening, you can also configure options.
1 2 3 4 5 6 | #Close any playback graphics
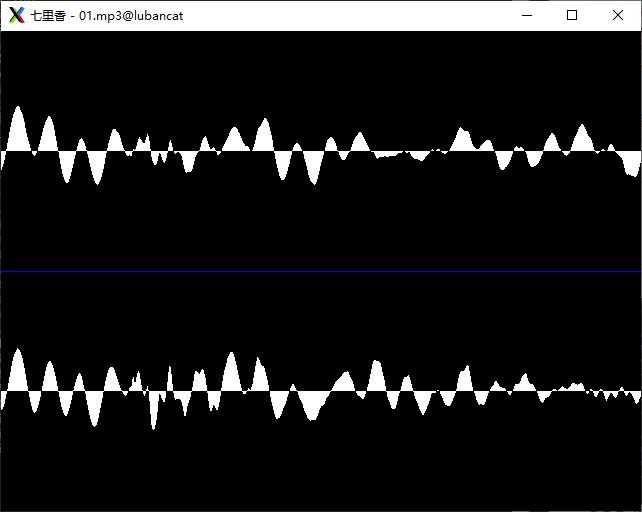
ffplay -showmode 0 01.mp3
#Play Music Waveform
ffplay -showmode 1 01.mp3
#Play music spectrogram
ffplay -showmode 2 01.mp3
|
The waveform diagram is as follows