1. Qt 控制串口
串口是一种常见的通信方式,本章主要讲解在Qt中如可控制串口,如何使用Qt库写一个串口助手。
首先对串口不太了解的朋友先去了解串口硬件以及通信原理:https://doc.embedfire.com/linux/imx6/linux_base/zh/latest/linux_app/uart_tty/uart_tty.html
至少端口号、波特率这些概念是我们需要了解的,它们例程代码中有使用到。
1.1. 串口类
串口中常用的两个类 QSerialPortInfo 和 QSerialPort
QSerialPortInfo 提供有关现有串行端口的信息
QSerialPort 提供访问串行端口的功能
QSerialPortInfo使用静态函数生成QSerialPortInfo对象的列表。列表中的每个QSerialPortInfo对象代表一个串行端口,可以查询该端口的名称,系统位置,描述和制造商。
QSerialPortInfo类也可以被用作setPort()方法的输入参数,这些参数限定串口端口号,波特率等。
我们可以使用如下方法来设置串口的相关参数。
setBaudRate() 设置波特率
setDataBits() 设置数据位
setParity() 设置校验位
setStopBits() 设置停止位
setFlowControl() 设置流控制
设置端口后,可以使用open()方法以只读(r/o)、仅写(w/o)或可读可写(r/w)模式打开它。 成功打开后,可以使用close()方法关闭端口并取消I/O操作。
注意:串行端口始终以独占访问方式打开(也就是说,没有其他进程或线程可以访问已打开的串行端口)。
串口使用过程中,可以通过 QSerialPort :: dataTerminalReady 和 QSerialPort :: requestToSend,或使用pinoutSignals()方法查询信号线的状态。
一旦知道端口已准备好读取或写入,就可以使用read()或write()方法。另外,还可以调用readLine()和readAll()便捷方法。 如果不是一次读取所有数据,则在将新的传入数据附加到QSerialPort的内部读取缓冲区后,其余数据将可供以后使用。 您可以使用setReadBufferSize()限制读取缓冲区的大小。
QSerialPort提供了一组函数,这些函数可以挂起调用线程,直到发出某些信号为止。这些功能可用于实现阻塞串行端口:
waitForReadyRead()阻止调用,直到可以读取新数据为止。 waitForBytesWritten()阻止调用,直到将一个有效载荷数据写入串行端口为止。
如果waitForReadyRead()返回false,则表示串口连接已关闭或数据传输发生了错误。
如果在任何时间点发生错误,QSerialPort将发出errorOccurred()信号。您还可以调用error()来查找上次发生的错误的类型。
1.2. 例程说明
野火提供的Qt Demo已经开源,仓库地址在:
文档所涉及的示例代码也提供下载,仓库地址在:
本章例程在 embed_qt_develop_tutorial_code/SerialPort
本例程由官方串口demo Terminal 做了略微修改而来,主要讲解串口类的使用。
1.2.1. 编程思路
使用 QSerialPortInfo::availablePorts() 获取当前计算机识别到的串口
新建一个串口实例 QSerialPort,设置它的端口号,波特率等参数
绑定 QSerialPort 的 readyRead() 信号,自动接受串口数据
使用 QSerialPort 的 open() 函数打开串口
调用 read() 或 write() 进行数据收发。
使用 QSerialPort 的 close() 函数关闭串口
1.2.2. 代码讲解
Qt中串口为一个单独模块,使用串口相关的类时,需要在pro工程文件中添加 QT += serialport
工程中有四个用户类:Console,SettingsDialog,Settings,MainWindow:
Console负责控制台相关的业务,例如显示串口数据;
SettingsDialog是一个QDialog类,其目的是用于设置串口的参数。
Settings是用来保存当前串口的参数的类,SettingsDialog的一个成员类
MainWindow则进行串口数据的读写,UI相关的业务。
程序启动第一步就是初始化MainWindow,构造函数中,分别创建了上面的类和一个串口类的实例。
1 2 3 4 5 6 7 8 9 10 11 12 | QSerialPort *m_serial = nullptr;
MainWindow::MainWindow(QWidget *parent) :
QMainWindow(parent),
m_ui(new Ui::MainWindow),
m_status(new QLabel),
m_console(new Console),
m_settings(new SettingsDialog),
m_serial(new QSerialPort(this))
{
...
}
|
创建SettingsDialog实例的时候,会在构造函数中调用这个fillPortsInfo()函数, 此函数通过QSerialPortInfo::availablePorts()静态函数获取当前可获得的串口设备信息。

并将相关的端口号、可设置的参数,在SettingsDialog窗口显示出来。 当我们设置窗口的设置项发生改变的时候就会自动调用updateSettings()来更新Settings这个类。
1 2 3 4 5 6 7 8 9 10 11 12 13 14 15 16 17 18 19 20 21 22 23 24 25 | void SettingsDialog::fillPortsInfo()
{
m_ui->serialPortInfoListBox->clear();
QString description;
QString manufacturer;
QString serialNumber;
const auto infos = QSerialPortInfo::availablePorts();
for (const QSerialPortInfo &info : infos) {
QStringList list;
description = info.description();
manufacturer = info.manufacturer();
serialNumber = info.serialNumber();
list << info.portName()
<< (!description.isEmpty() ? description : blankString)
<< (!manufacturer.isEmpty() ? manufacturer : blankString)
<< (!serialNumber.isEmpty() ? serialNumber : blankString)
<< info.systemLocation()
<< (info.vendorIdentifier() ? QString::number(info.vendorIdentifier(), 16) : blankString)
<< (info.productIdentifier() ? QString::number(info.productIdentifier(), 16) : blankString);
m_ui->serialPortInfoListBox->addItem(list.first(), list);
}
m_ui->serialPortInfoListBox->addItem(tr("Custom"));
}
|
随后,绑定串口的errorOccurred()和readyRead()信号。
当串口接收到数据的时候,就会触发readyRead()信号,随即调用readData()槽函数,使用readAll()去读取串口数据,并显示到控制台。 串口发生故障的时候,会触发errorOccurred(),程序通过handleError()显示错误,并关闭串口。
1 2 3 4 5 6 7 8 9 10 11 12 13 14 15 16 17 | connect(m_serial, &QSerialPort::errorOccurred, this, &MainWindow::handleError);
connect(m_serial, &QSerialPort::readyRead, this, &MainWindow::readData);
//connect(m_serial, SIGNAL(readyRead()), this, SLOT(readData()));
void MainWindow::readData()
{
const QByteArray data = m_serial->readAll();
m_console->putData(data);
}
void MainWindow::handleError(QSerialPort::SerialPortError error)
{
if (error == QSerialPort::ResourceError) {
QMessageBox::critical(this, tr("Critical Error"), m_serial->errorString());
closeSerialPort();
}
}
|
UI初始化和信号与槽绑定结束,我们就可以对程序进行控制。
当我们点击菜单栏 actionConnect 的时候,就会执行openSerialPort(), 首先拿到SettingsDialog的串口的设置参数,并对m_serial进行设置,最后以可读可写的方式打开串口。
1 2 3 4 5 6 7 8 9 10 11 12 13 14 15 16 17 18 19 20 21 22 23 24 25 26 27 28 29 30 31 32 33 34 | void MainWindow::openSerialPort()
{
const SettingsDialog::Settings p = m_settings->settings();
m_serial->setPortName(p.name);
m_serial->setBaudRate(p.baudRate);
m_serial->setDataBits(p.dataBits);
m_serial->setParity(p.parity);
m_serial->setStopBits(p.stopBits);
m_serial->setFlowControl(p.flowControl);
if (m_serial->open(QIODevice::ReadWrite)) {
m_console->setEnabled(true);
m_console->setLocalEchoEnabled(p.localEchoEnabled);
m_ui->actionConnect->setEnabled(false);
m_ui->actionDisconnect->setEnabled(true);
m_ui->actionConfigure->setEnabled(false);
showStatusMessage(tr("Connected to %1 : %2, %3, %4, %5, %6")
.arg(p.name).arg(p.stringBaudRate).arg(p.stringDataBits)
.arg(p.stringParity).arg(p.stringStopBits).arg(p.stringFlowControl));
} else {
QMessageBox::critical(this, tr("Error"), m_serial->errorString());
showStatusMessage(tr("Open error"));
}
}
void MainWindow::closeSerialPort()
{
if (m_serial->isOpen())
m_serial->close();
showStatusMessage(tr("Disconnected"));
}
|
串口接收到数据时,就会自动触发readyRead()信号,控制台就会显示串口接受到的数据了。
1.2.3. 编译构建
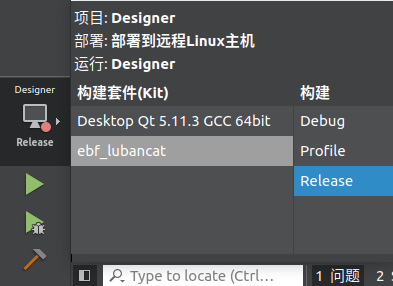
Ubuntu 选择 Desktop Qt 5.11.3 GCC 64bit 套件,编译运行
LubanCat 选择 ebf_lubancat,只编译
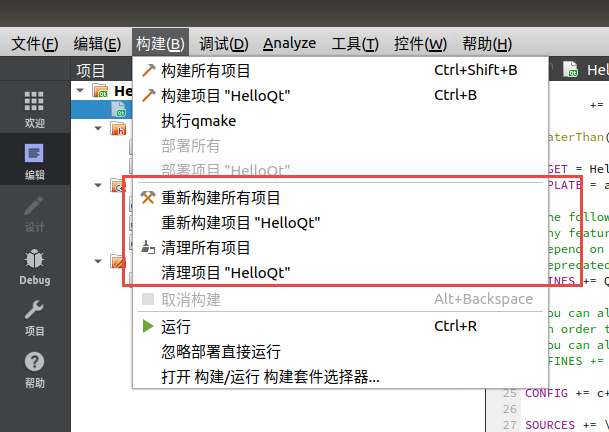
注意 当两种构建套件进行切换时,请重新构建项目或清除之前项目。
1.2.4. 运行结果
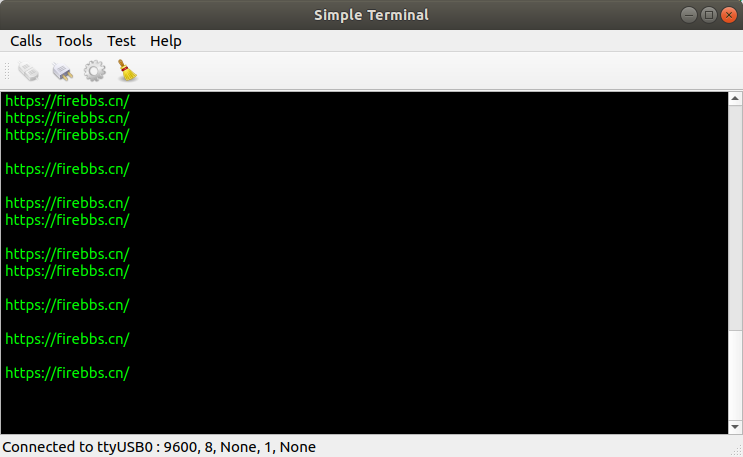
Ubuntu 直接点击编译并运行程序,结果如下:
LubanCat 编译程序之后,需要将程序拷贝到LubanCat开发板中,可通过NFS或SCP命令
NFS环境搭建参考:https://doc.embedfire.com/linux/imx6/linux_base/zh/latest/linux_app/mount_nfs.html
SCP命令如下:
# scp传输文件
# scp 文件名 服务器上的某个用户@服务器ip:/文件保存路径
scp filename server_user_name@192.168.0.205:server_file_path
# 从服务器拉取文件
# scp 服务器上的某个用户@服务器ip:/服务器文件存放路径 拉取文件保存路径
scp server_user_name@192.168.0.229:server_file_path local_path
编译好的程序在 embed_qt_develop_tutorial_code/app_bin 目录中
scp root@192.168.0.174:/home/embed_qt_develop_tutorial_code/app_bin/SerialPort /usr/local/qt-app/
串口连接, 参考 https://doc.embedfire.com/linux/imx6/quick_start/zh/latest/quick_start/uart_tty/uart_tty.html#id7
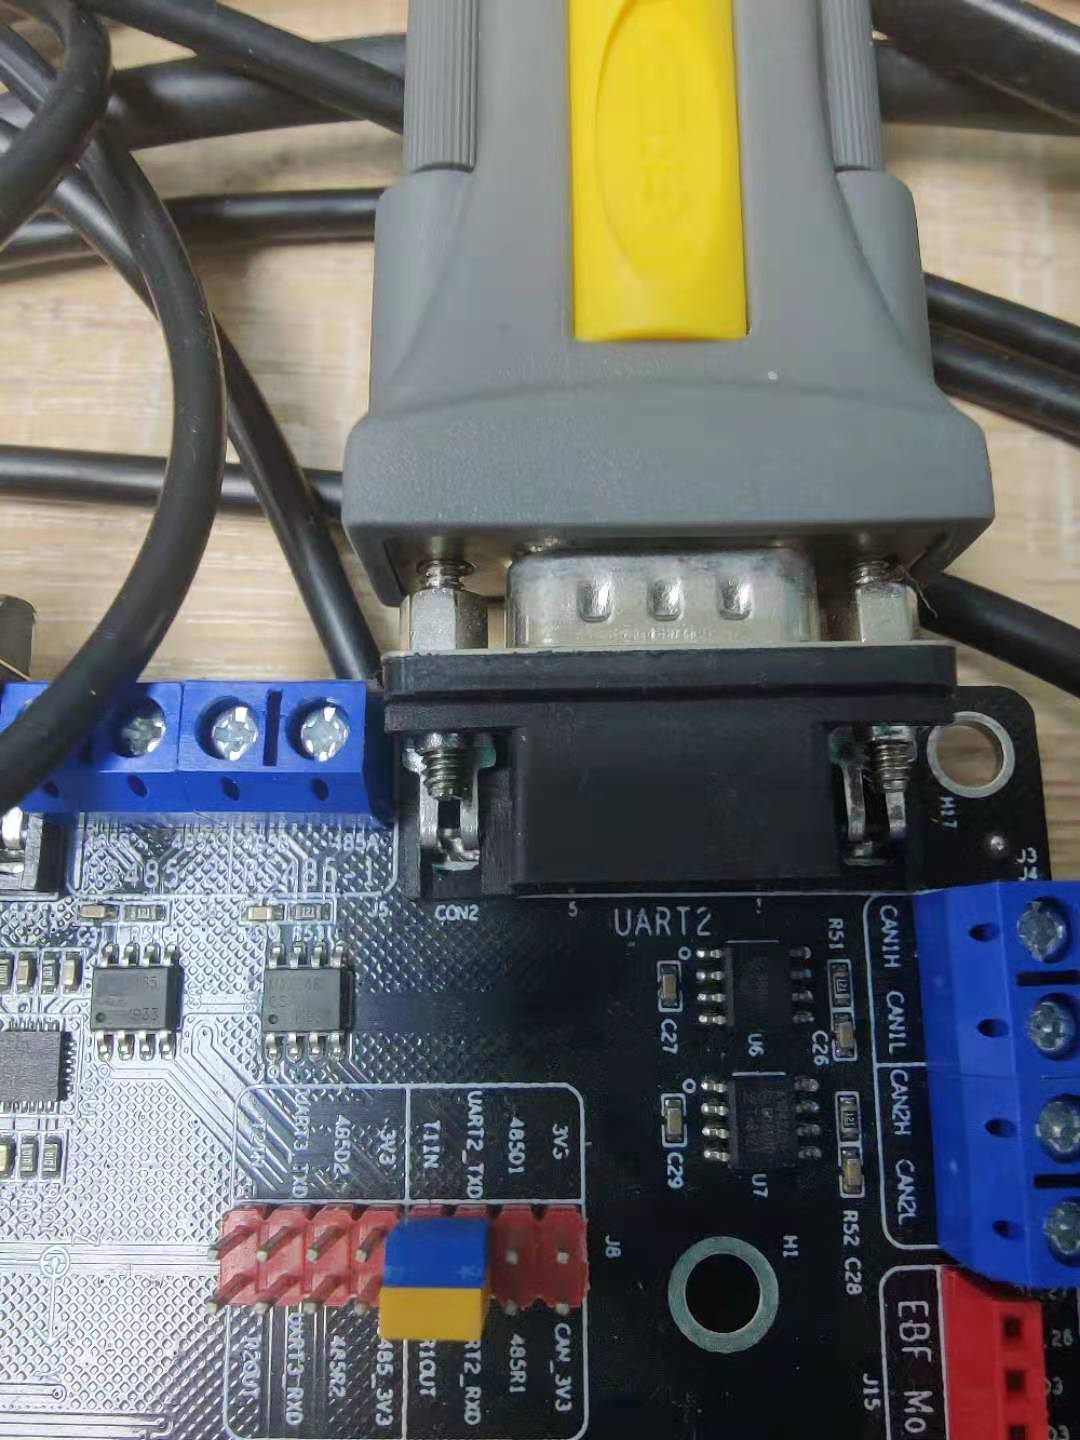
我这里使用USB转串口线将开发板的串口2连接到PC。图示中的跳线帽也需要连接。
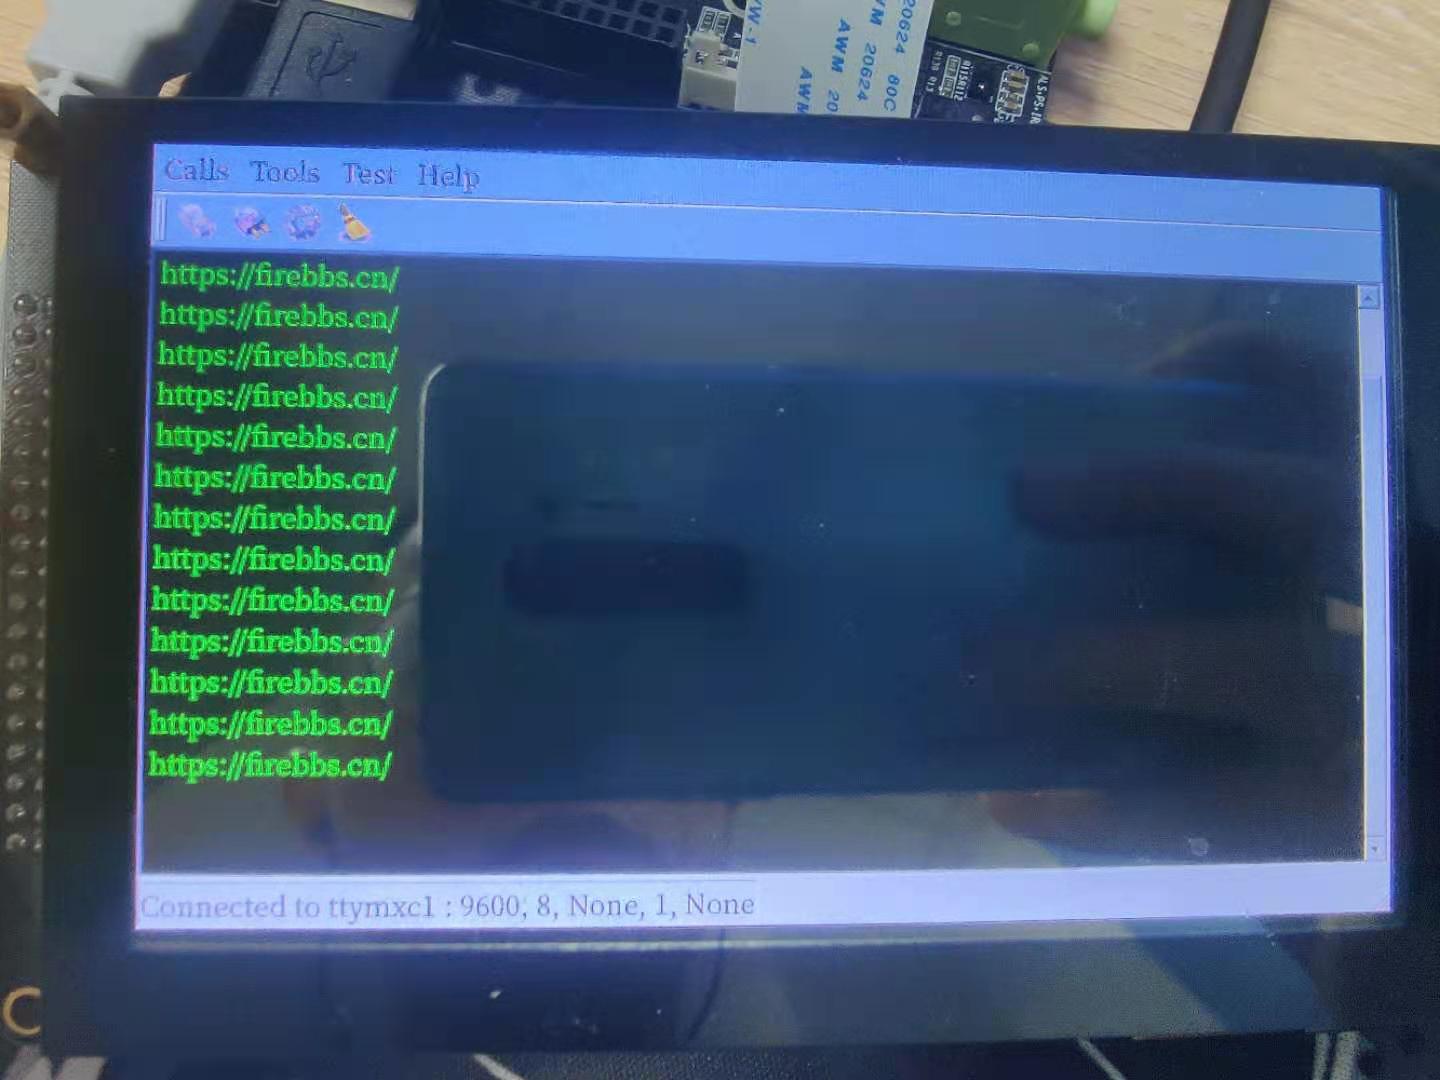
在LubanCat上运行程序
sudo /usr/local/qt-app/run_myapp.sh SerialPort
程序会自动识别到可用串口,点击tools–>config可以对串口进行设置,
串口2的标识为ttymxl,我们设置波特率设置为9600。
打开串口即可进行数据收发,添加了一个定时发送的测试功能,
点击start timer,运行在pc上的串口助手就会定时收到 https://firebbs.cn