2. 如何安装KEIL5
本章内容所涉及的软件只供教学使用,不得用于商业用途。个人或公司因商业用途导致的法律责任,后果自负。
2.1. 温馨提示
安装路径不能带中文,必须是英文路径
安装目录不能跟51的KEIL或者KEIL4冲突,三者目录必须分开
KEIL5的安装比起KEIL4多了一个步骤,必须添加MCU库,不然没法使用。
如果使用的时候出现莫名其妙的错误,先百度查找解决方法,莫乱阵脚。
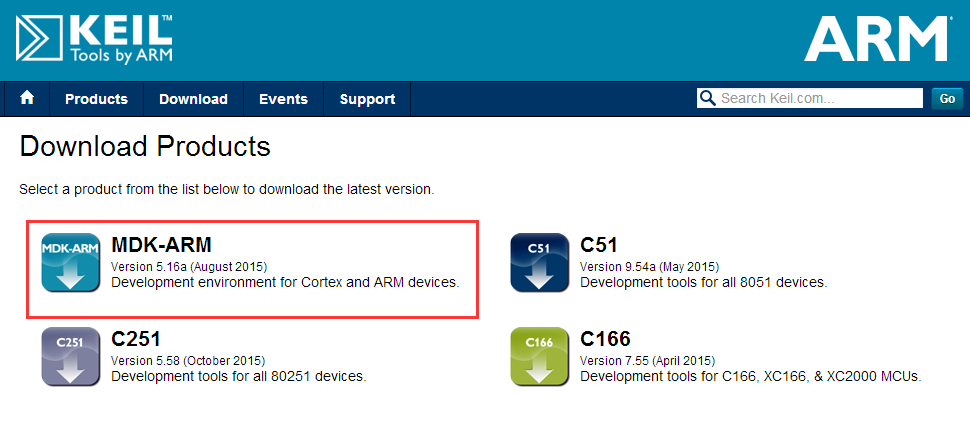
2.2. 获取KEIL5安装包
要想获得KEIL5的安装包,在百度里面搜索“KEIL5下载”即可找到很多网友提供的下载文件,或者到KEIL的官网下载:https://www.keil.com/download/product/,一大堆注册非常麻烦。实验的工程均为KEIL5.30版本编写,我们这里面KEIL5的版本是以MDK5.15为例介绍,以后有新版本大家可使用更高版本。
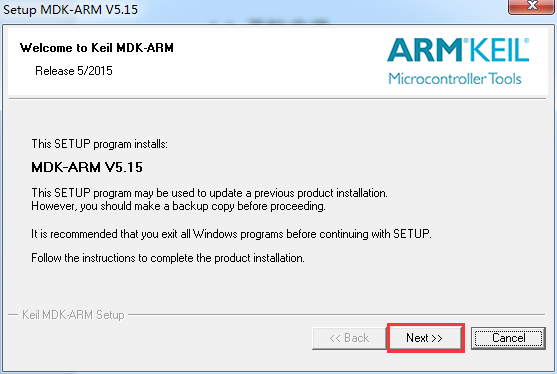
2.3. 开始安装KEIL5
双击KEIL5安装包,开始安装,next。
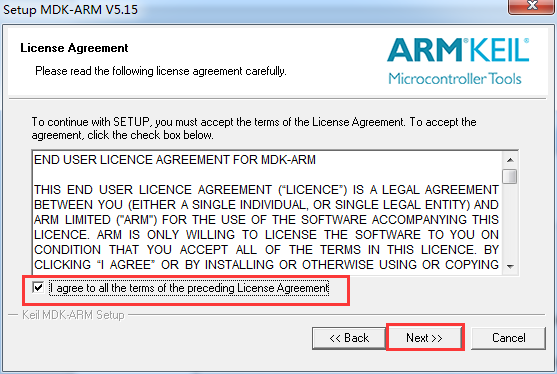
Agree,Nest
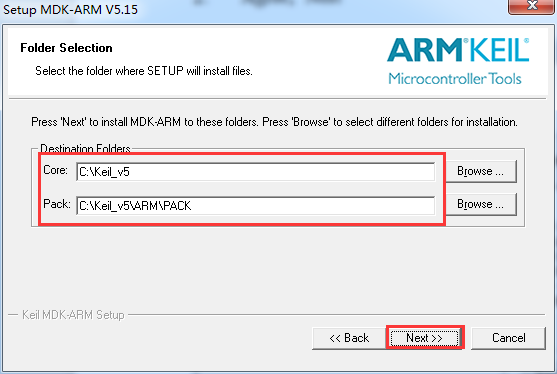
选择安装 路径,路径不能带中文,next
填写用户信息,全部填空格(键盘的space键)即可,next

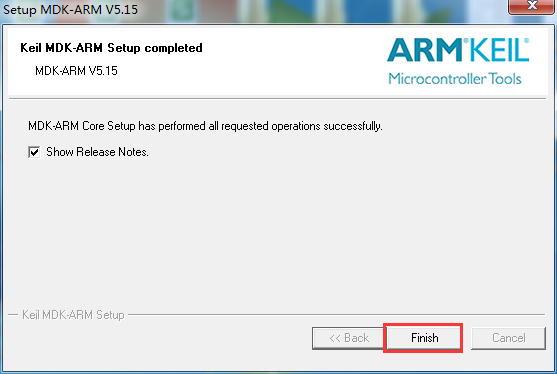
Finish,安装完毕
2.4. 安装STM32芯片包
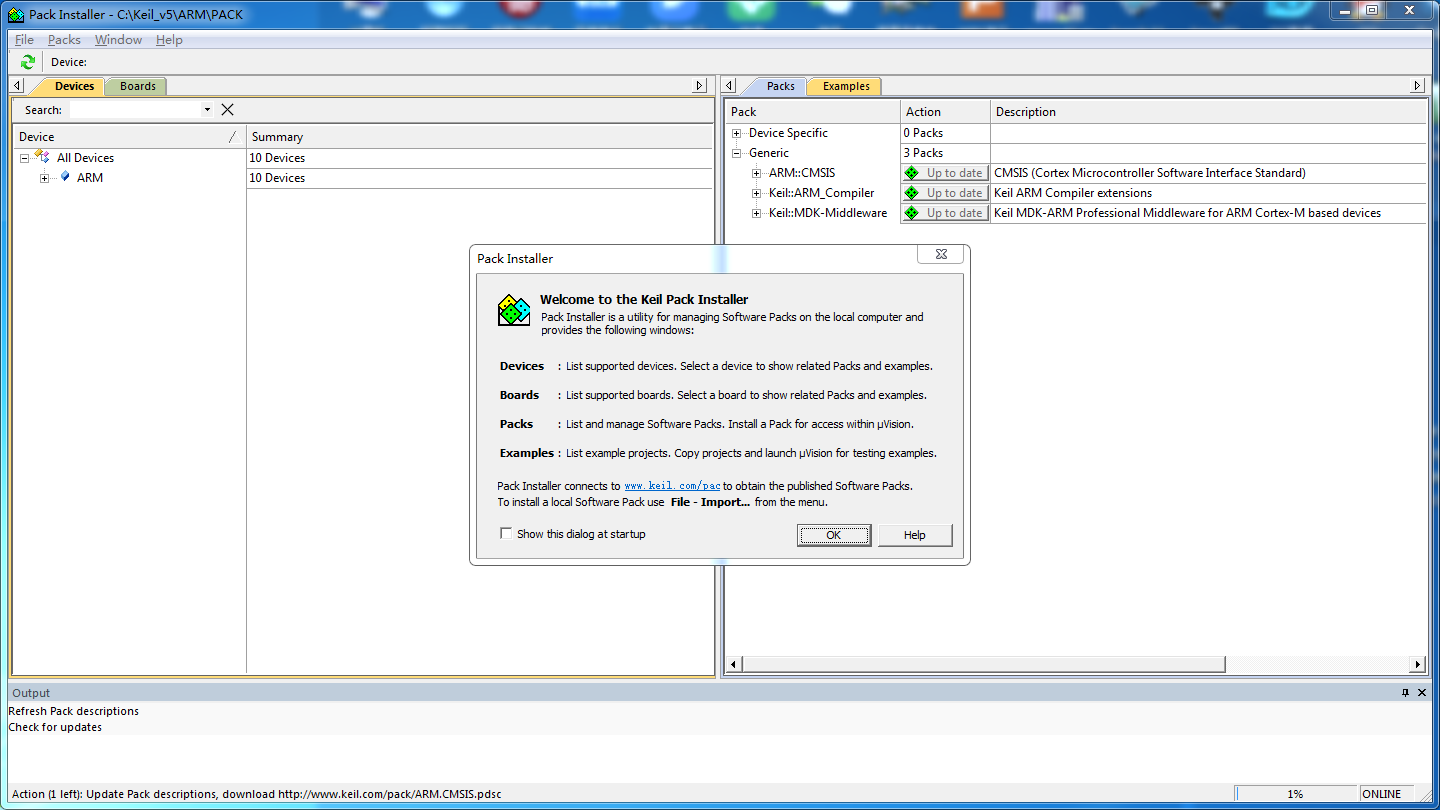
KEIL5不像KEIL4那样自带了很多厂商的MCU型号,KEIL5需要自己安装。
把下面弹出的界面关掉,我们直接去keil的官网下载:http://www.keil.com/dd2/pack/,或者直接用我们下载好的包。
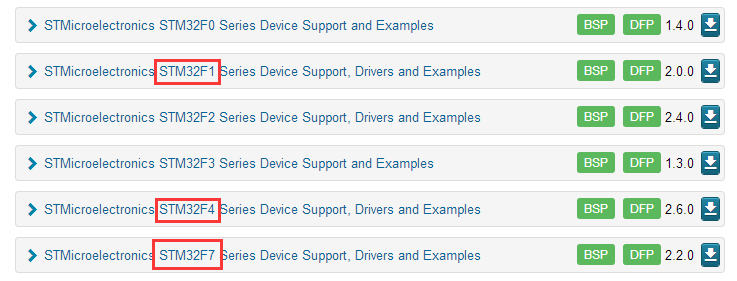
在官网中找到STM32F1、STM32F4、STM32F7这3个系列的包下载到本地电脑,具体下载哪个系列的根据你使用的型号下载即可,这里我只下载我自己需要使用的F1/4/7这三个系列的包,F1代表M3,F4代表M4,F7代表M7。
把下载好的包双击安装即可,安装路径选择跟KEIL5一样的安装路径,安装成功之后,在KEIL5 的 Pack Installer 中就可以看到我们安装的包,以后我们新建工程的时候,就有单片机的型号可选。

到这里KEIL5就安装完毕。要特别注意的是KEIL5的安装目录不能跟其他版本的KEIL冲突,如果冲突了则卸载后重新安装。最后还要记得安装STM32芯片包。