Root file system backup and re-burn
The advantage of a complete backup of the system image is that it is easy to process and the steps are simple. However, the full backup system image is large in size and cannot be burned using mass production tools.
If we only made modifications to the root file system, we can back up the root file system partition separately. In the same way, if we make changes to the boot partition or other partitions, we can also back up the corresponding partitions separately. However, during the development process, we generally do not modify other partitions, so here we focus on the backup of the rootfs partition. The backup and burning methods of other partitions are also similar.
Preparation before backup
In order to successfully backup the root file system, we must first do some preparations.
Unpack the RK format image source file burned to eMMC or SD card to obtain the image of each partition.
Linux PC or virtual machine for post-image processing
If the backup is eMMC, you need an SD card with a universal backup image of the board burned into it.
Root file system backup
In order to verify whether the rootfs partition is backed up correctly, we change the desktop background image to the image shown below.
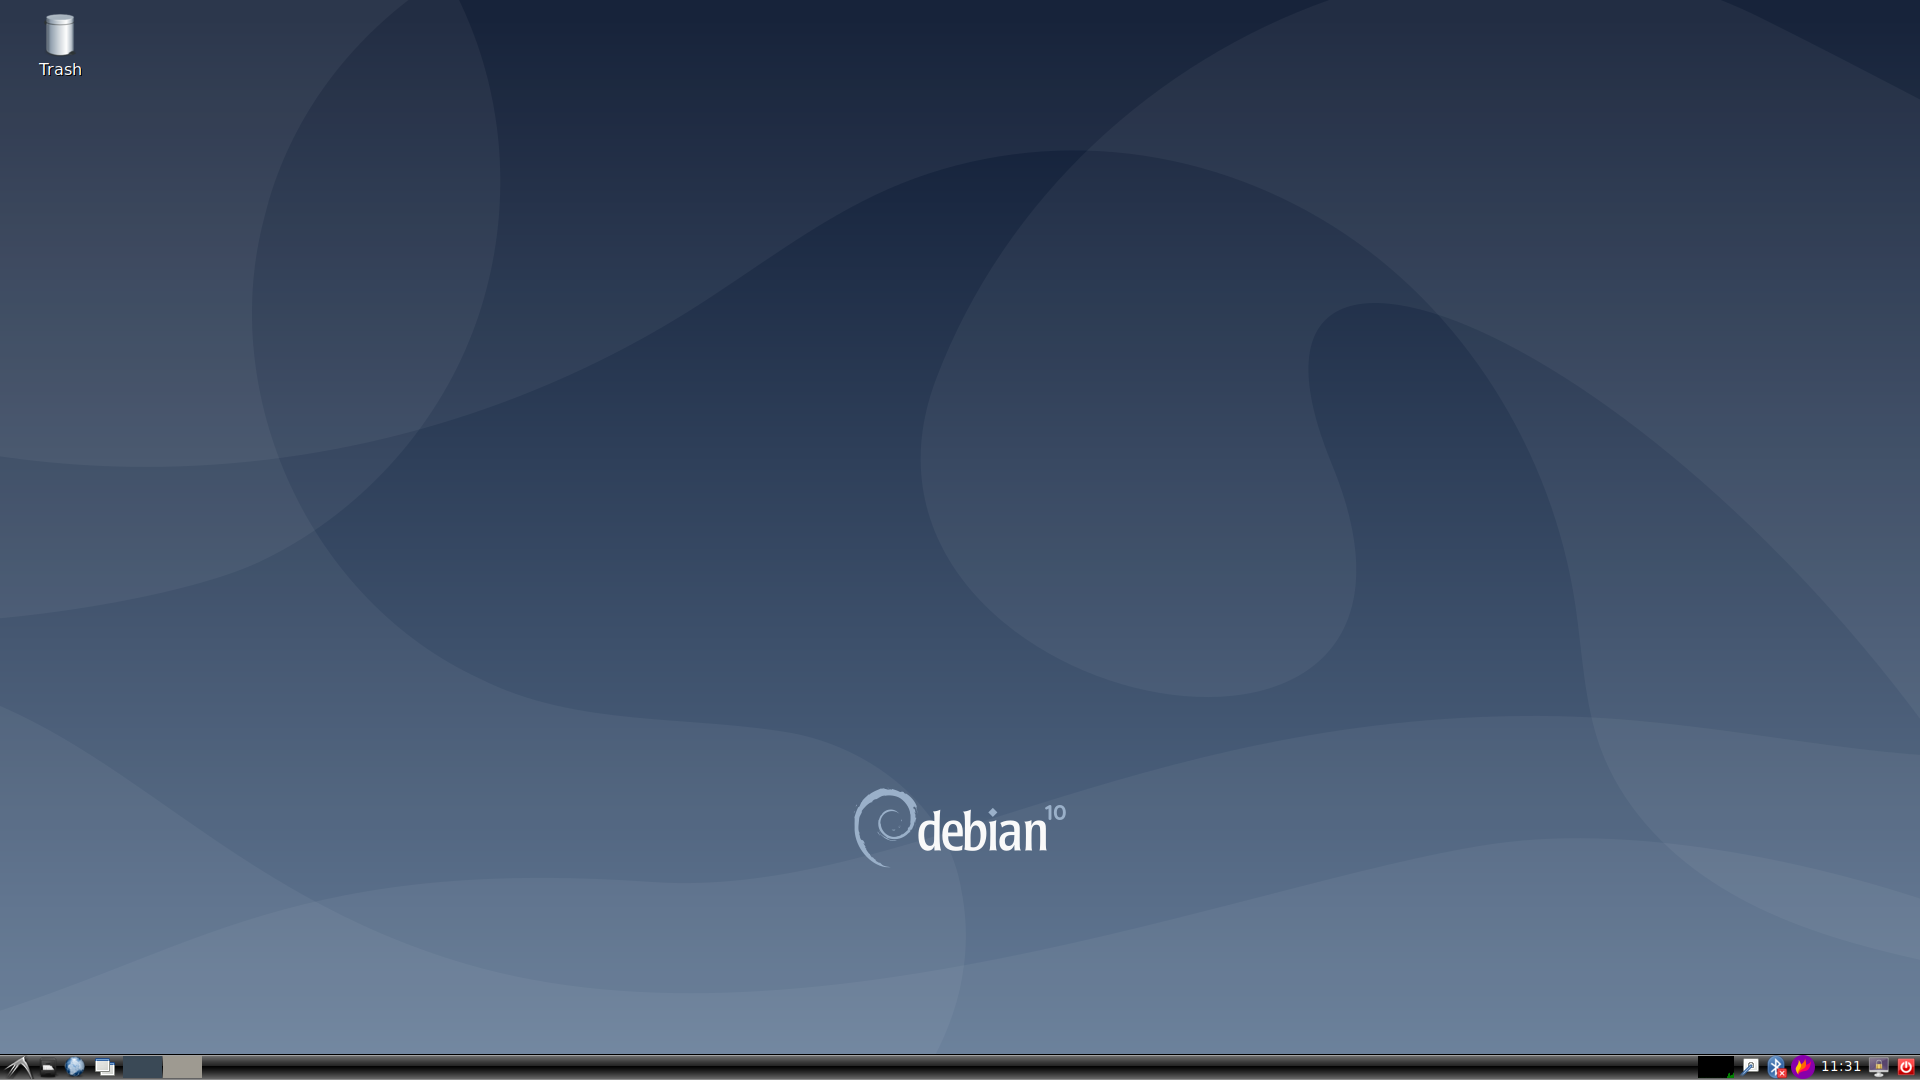
Then run the following command, and the partition will be automatically expanded when you start it again.
1 2 3 4 5 | #Delete this file and the partition will be automatically expanded when you start again.
rm /var/lib/misc/firstrun
# After deletion is complete, shut down
poweroff
|
Insert the SD card with the board’s universal backup image burned into it, and boot the system from the SD card. If you are backing up the rootfs partition on the SD card, this step is to insert the SD card to be backed up into the Linux PC.
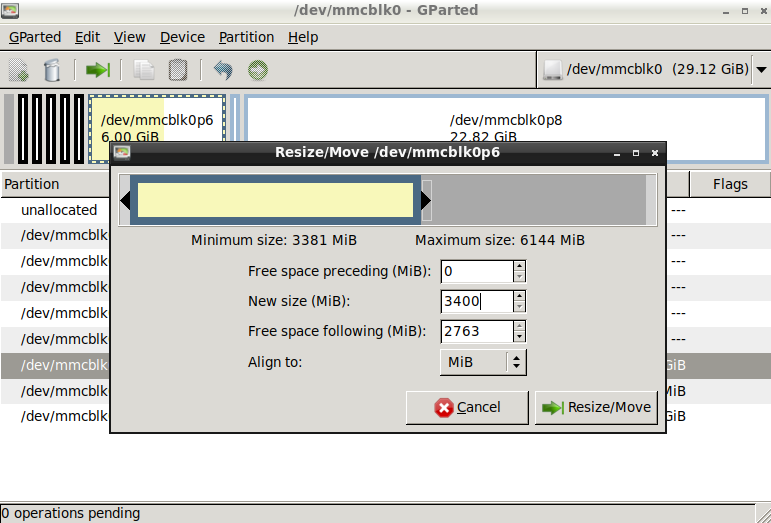
Open the gparted disk management tool, unmount and compress the rootfs partition to be backed up.
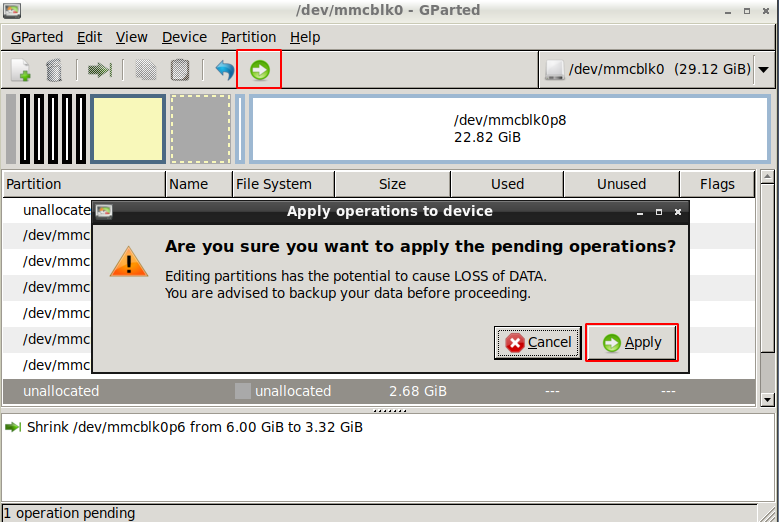
Apply the modifications we made to reduce the size of rootfs.
Use the mkdir command to create a new directory to store the image copied from the SD card with the image.
Then use the dd command to copy the image in the mirrored SD to the newly created directory. Here we select the mounted U disk.
When compressing the partition just now, we learned that the rootfs partition of eMMC is the /dev/mmcblk0p6 partition.
1 2 3 4 5 6 7 8 9 10 | #Mount USB flash drive
mount /dev/sda1 /mnt/udisk/
#Copy the image which in the SD card to the created directory
dd if=/dev/mmcblk0p6 of=/mnt/udisk/backup-rootfs.img bs=1024k conv=sync
#Copying takes time, please wait patiently. The printed message is as follows
3400+0 records in
3400+0 records out
3565158400 bytes (3.6 GB, 3.3 GiB) copied, 185.89 s, 19.2 MB/s
|
After the backup is completed, we use the poweroff command to shut down the computer and remove the flash drive, so that we get a separate rootfs.img partition image.
We can choose to directly use development tools to burn the partition, or we can merge the backed up rootfs.img with other partitions into a complete image.
Partition burning
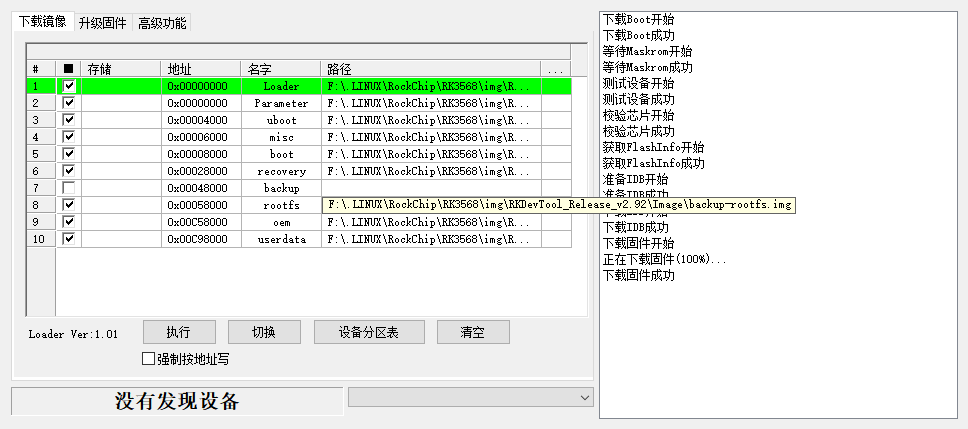
Use the development tool to import the corresponding partition table, and then select each partition image after unpacking the RK format complete image. Note that for the rootfs partition, you need to select the backup-rootfs.img image file we just backed up, and then burn it.
Package it into a complete image and then burn it
Open our packaging tool, copy the previously unpacked partition image and the backup-rootfs.img just backed up to the Image directory, rename backup-rootfs.img to rootfs.img to replace the original file, and then run rk356x- mkupdate.sh packages the complete image.
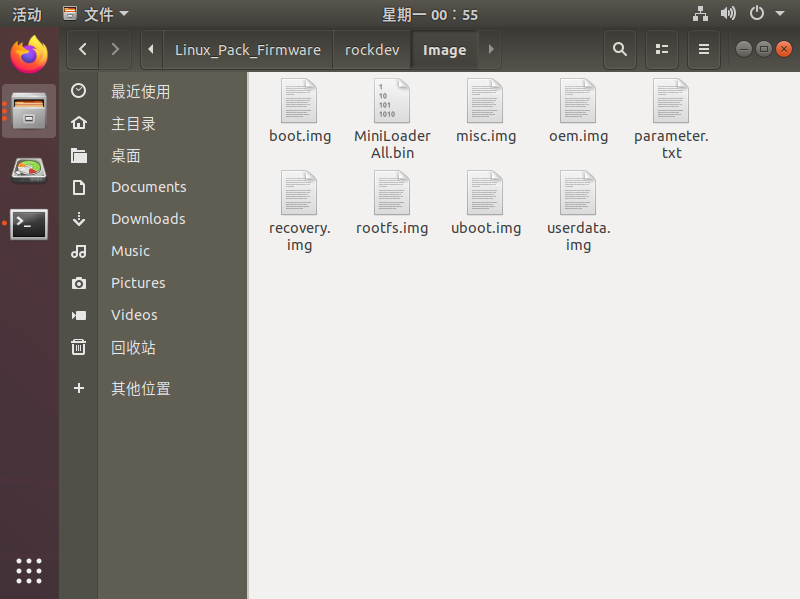
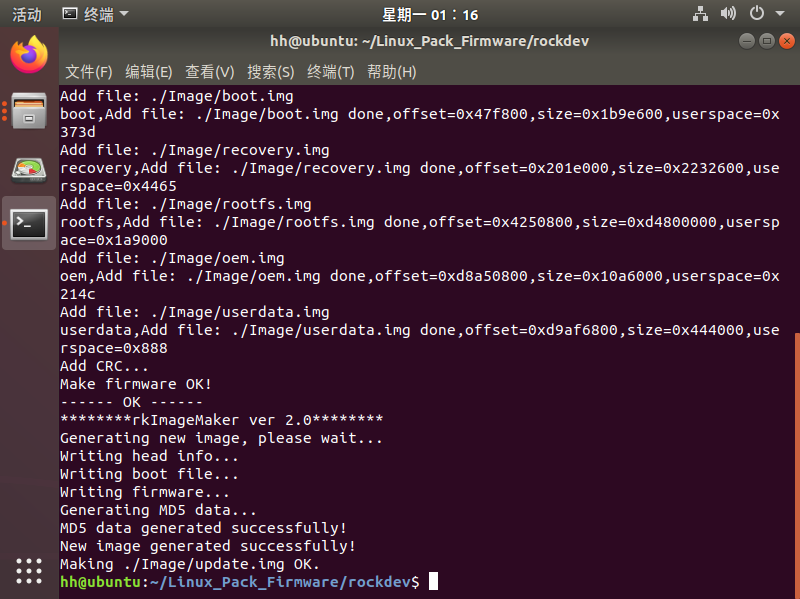
Burn the packaged complete image update.img into the board.
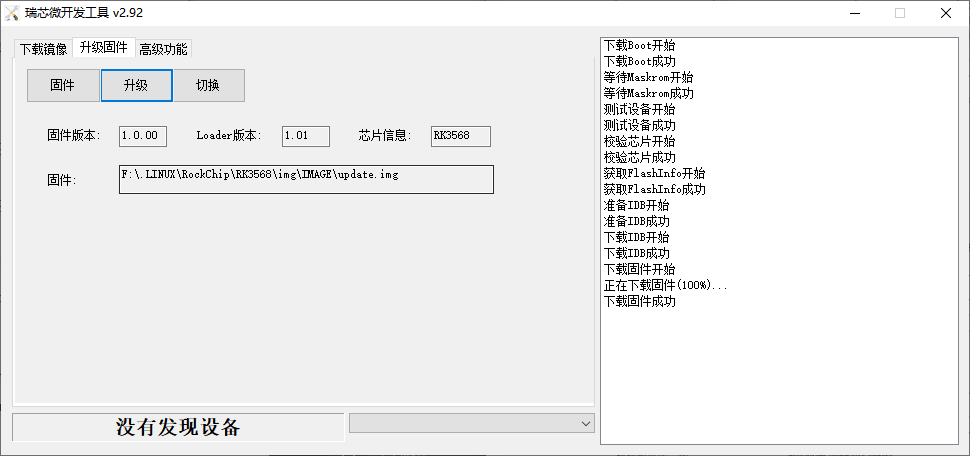
Verify modification results
After reburning the image, the default desktop background is still the picture we originally modified.
