9. 使用STM32CubeMX新建工程
STM32Cube是一项意法半导体的原创活动, 通过减少开发工作、时间和成本, 使开发者的开发工作更轻松。 STM32Cube 是一个全面的软件平台,包括了ST产品的每个系列。(如,STM32CubeF7是针对STM32F7系列)。 平台包括了STM32Cube 硬件抽象层和一套的中间件组件(RTOS,USB,FS,TCP/IP,Graphics,等等)。
9.1. 软件安装
必备软件:Java(V1.7及以上版本)和STM32CubeMX(版本5.1.0)
Java下载地址:www.java.com/zh_CN/
STM32CubeMX下载地址:http://www.st.com/content/st_com/en/products/development-tools/software-development-tools/stm32-software-development-tools/stm32-configurators-and-code-generators/stm32cubemx.html,也可以直接从本书的配套资料得到。
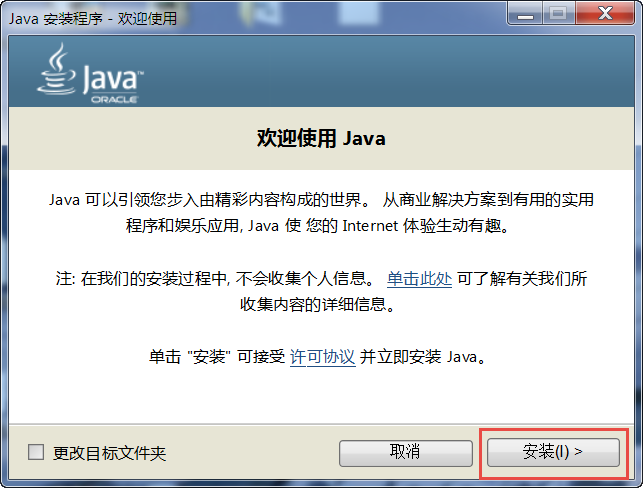
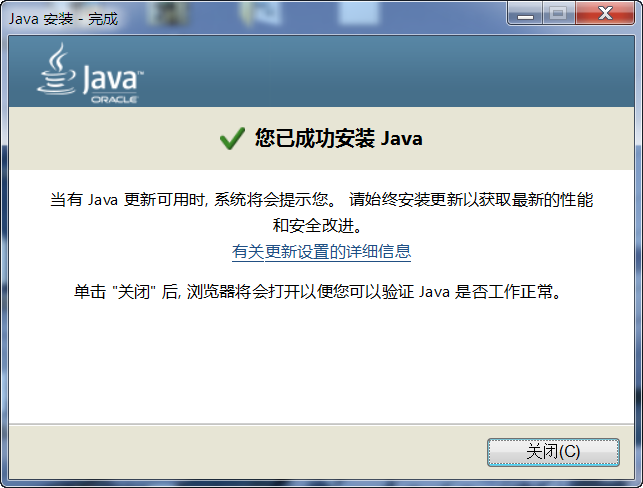
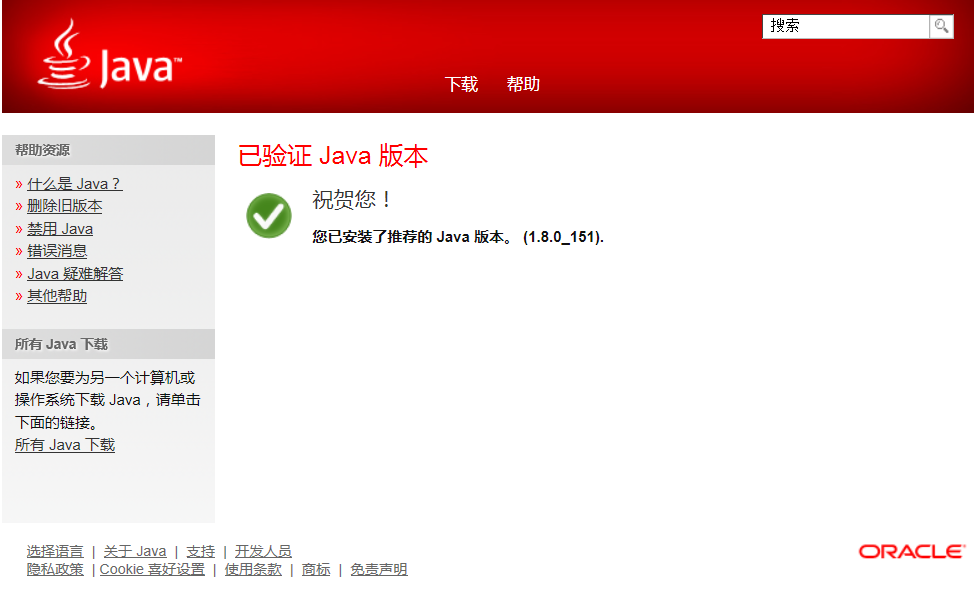
安装Java软件
双击安装包“JavaSetup8u151.exe”,具体操作步骤如下:
在本地新建好文件夹后,把准备好的库文件添加到相应的文件夹下:
9.1.1. 安装STM32CubeMX软件
双击安装包“SetupSTM32CubeMX-5.1.0.exe”,具体操作步骤如下:
STM32CubeMX启动安装

STM32CubeMX接受本许可协议的条款
STM32CubeMX指定安装路径
STM32CubeMX创建快捷方式
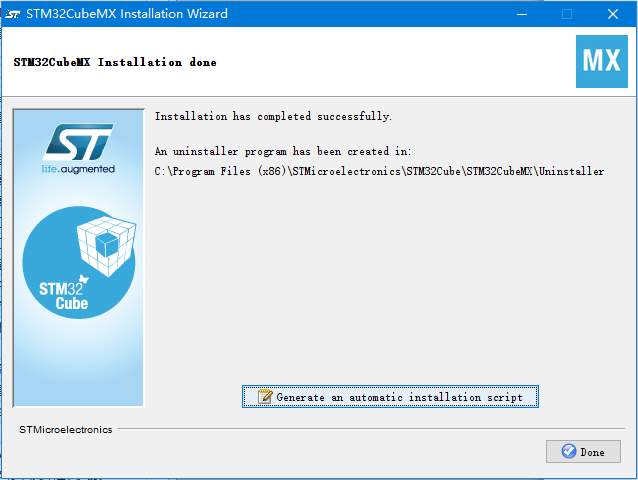
STM32CubeMX完成安装
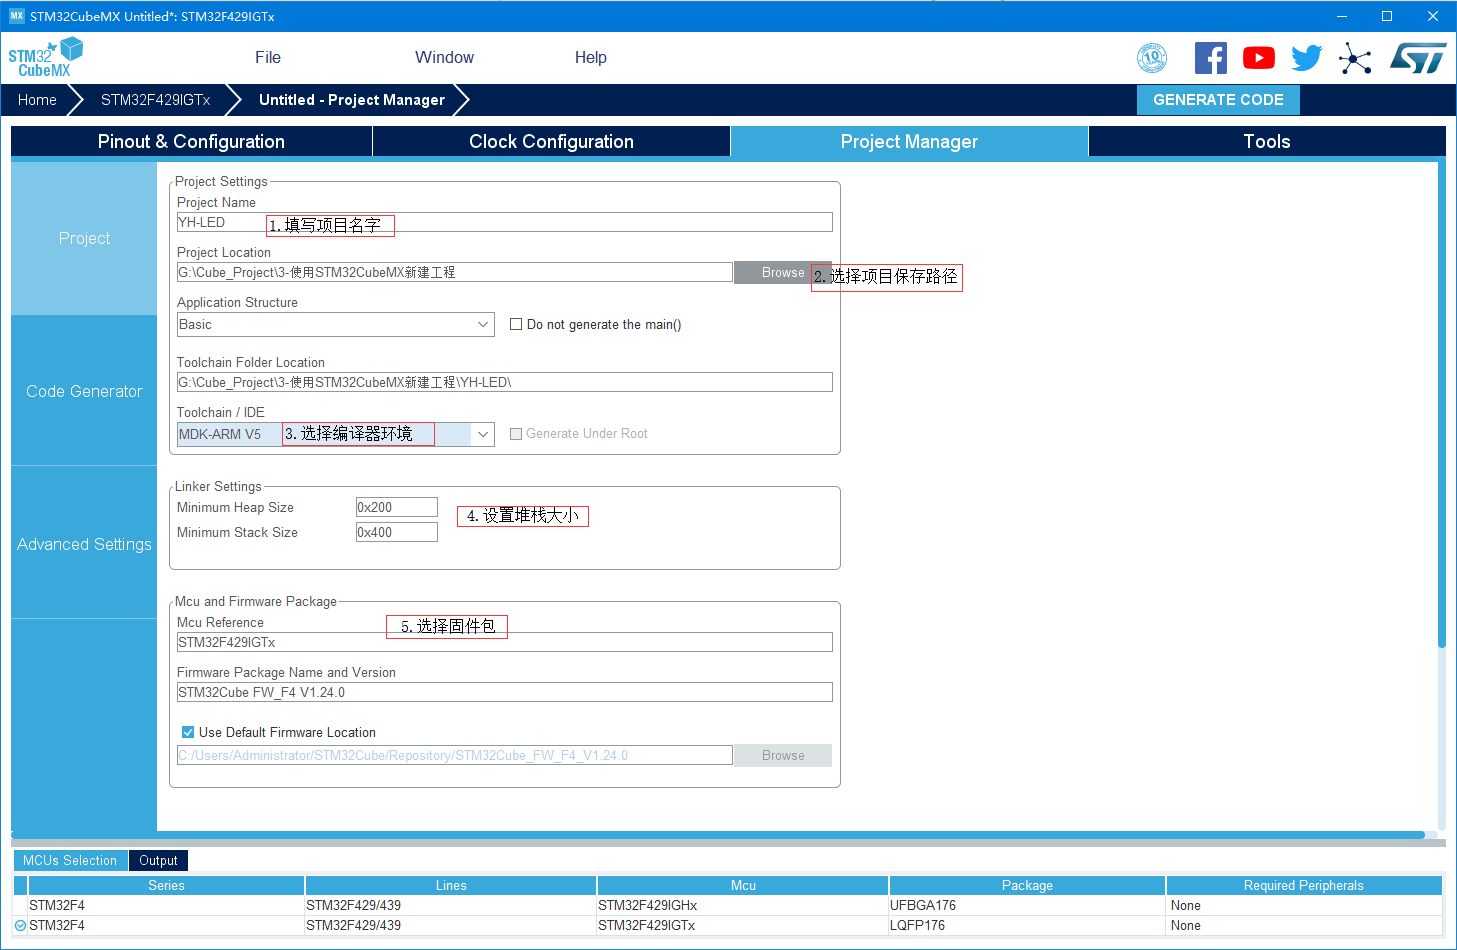
9.2. 新建工程
注意
示例中虽使用的芯片型号为F767IGTx,但换成其它芯片操作基本没有区别,实现步骤一致,以后创建工程根据实际需要选择即可。
9.2.1. 新建工程
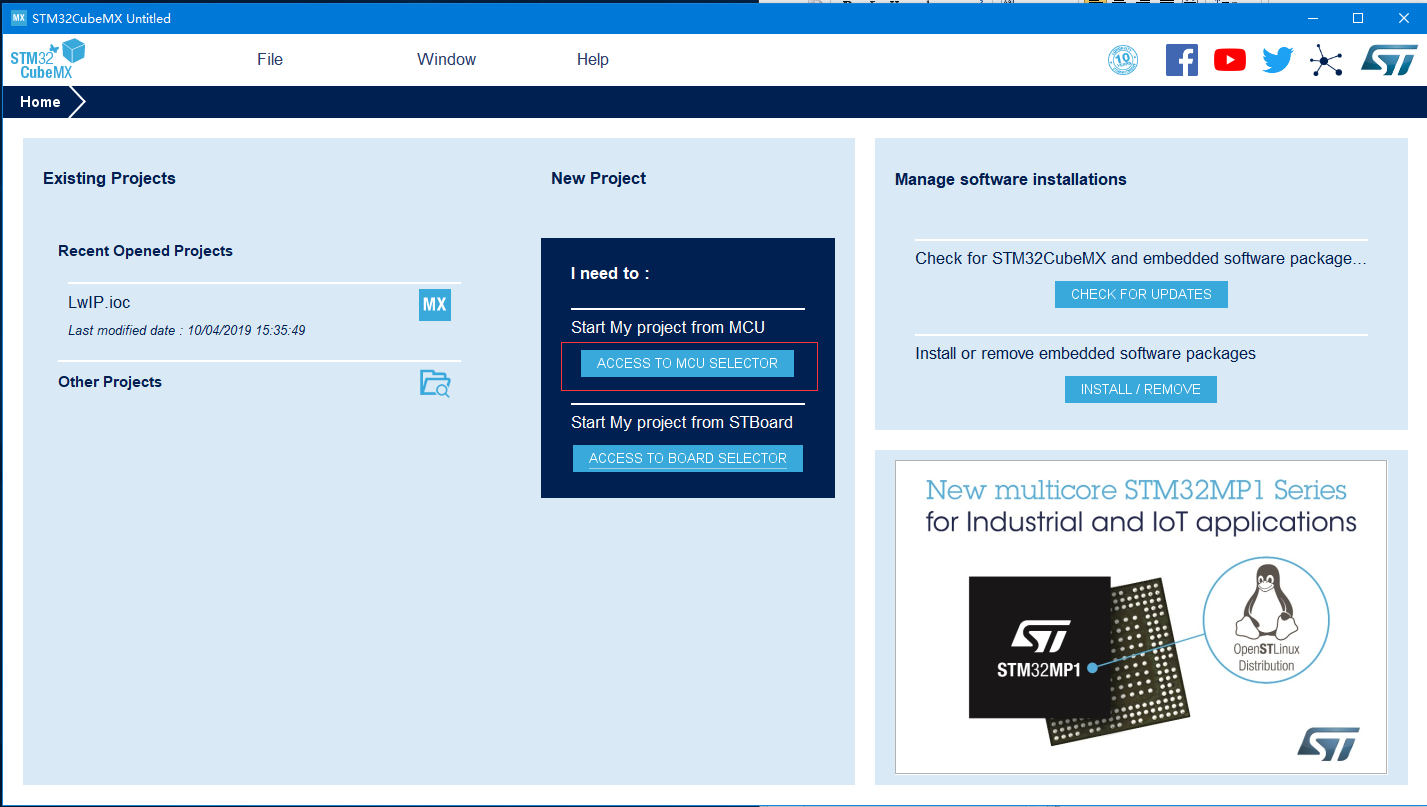
打开STM32CubeMX,点击ACCESS TO MCU SELECTOR,如 图10_9 所示,第一次使用软件会更新一些组件,等待安装完成即可。
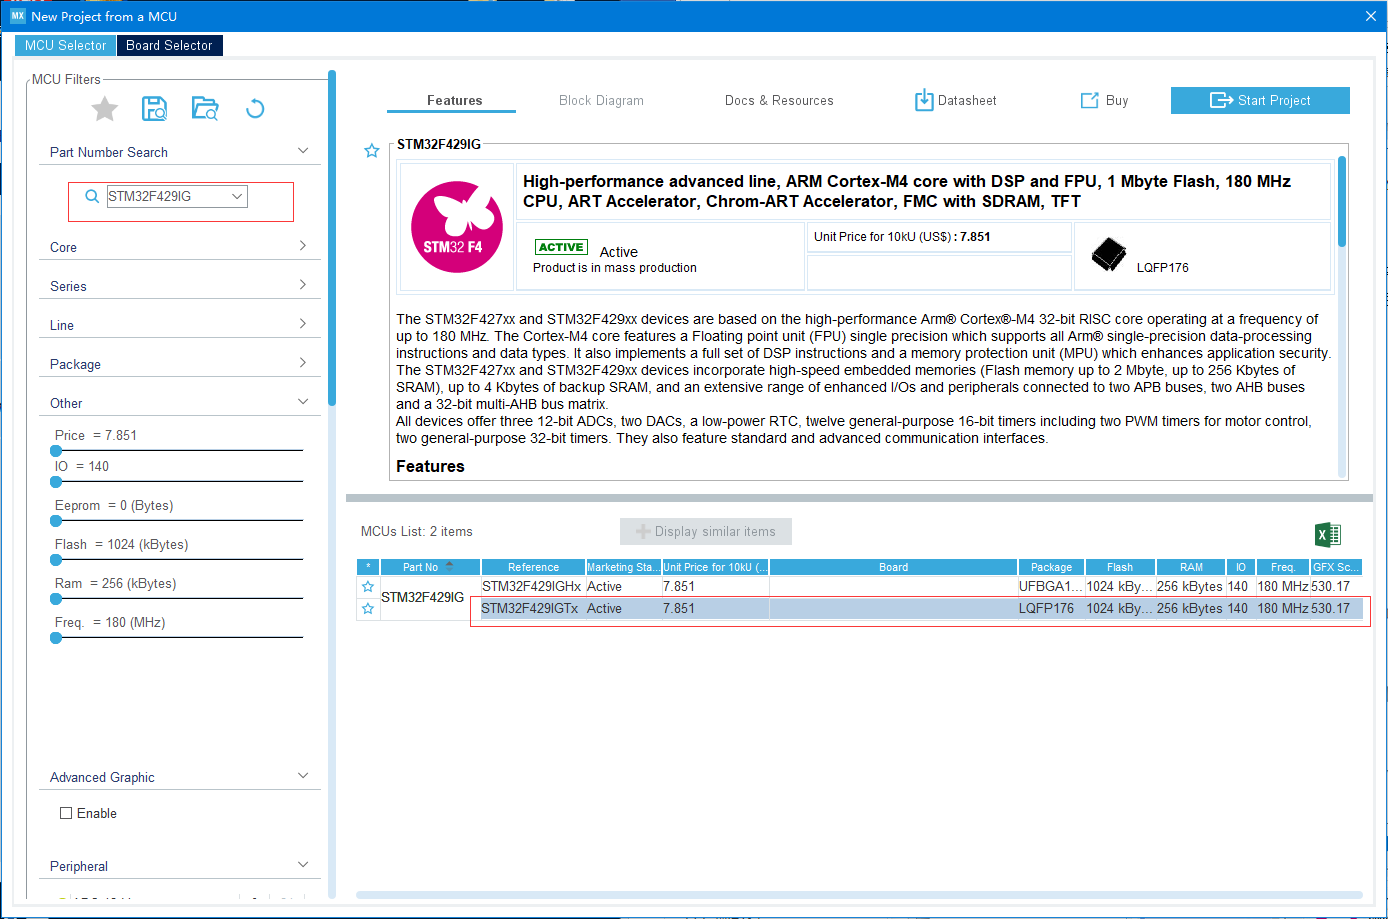
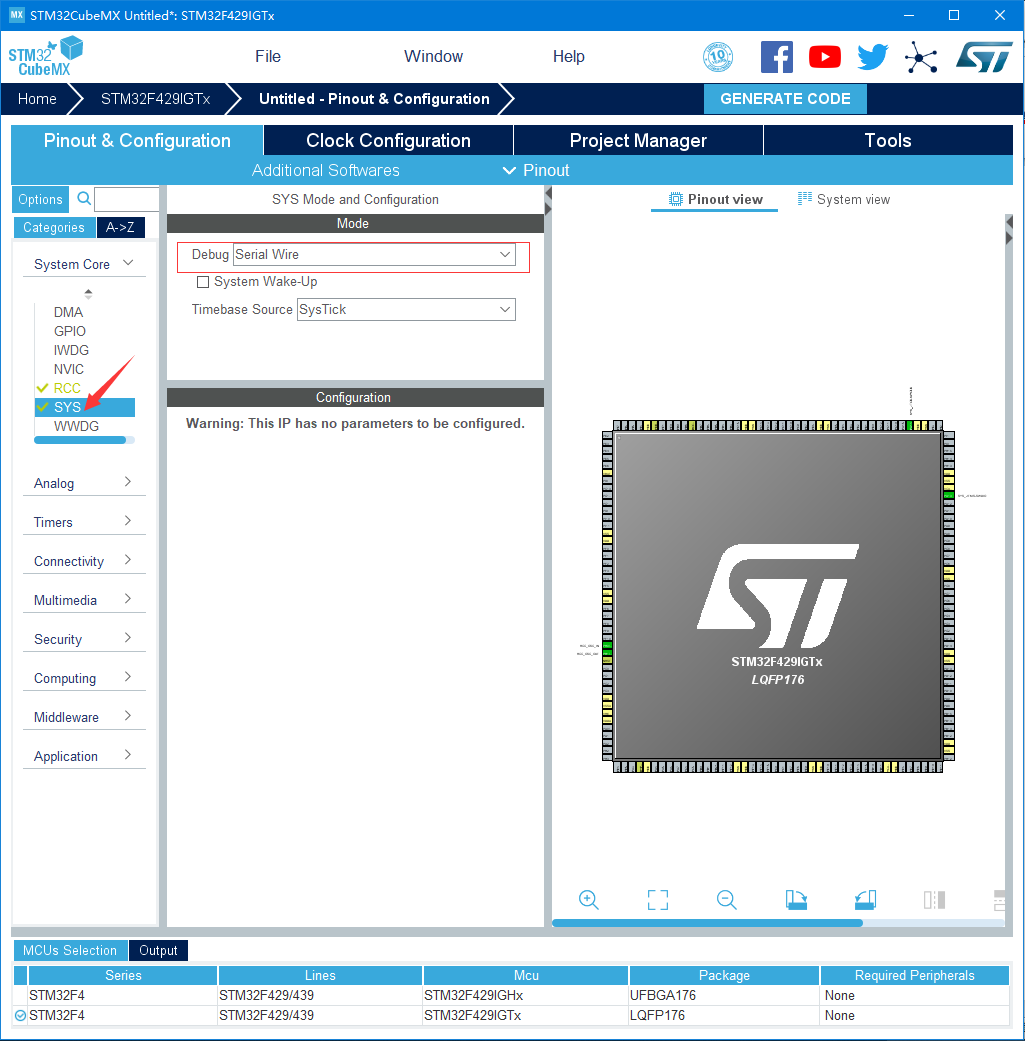
9.2.1.1. 选择CPU型号
这个根据你开发板使用的CPU具体的型号来选择, M7挑战者选STM32F767IGT型号。 我们直接在搜索框输入型号STM32F767IG最终确认STM32F767IGTx为我们实际使用型号。
9.2.1.3. 配置IO口
这个工程简单控制一个LED周期闪烁,我们只需要配置一个IO即可,这里选定控制红色LED的引脚PH10,通过搜索框搜索可以定位IO口的引脚位置,图中会闪烁显示,配置PH10的属性为GPIO_Output。
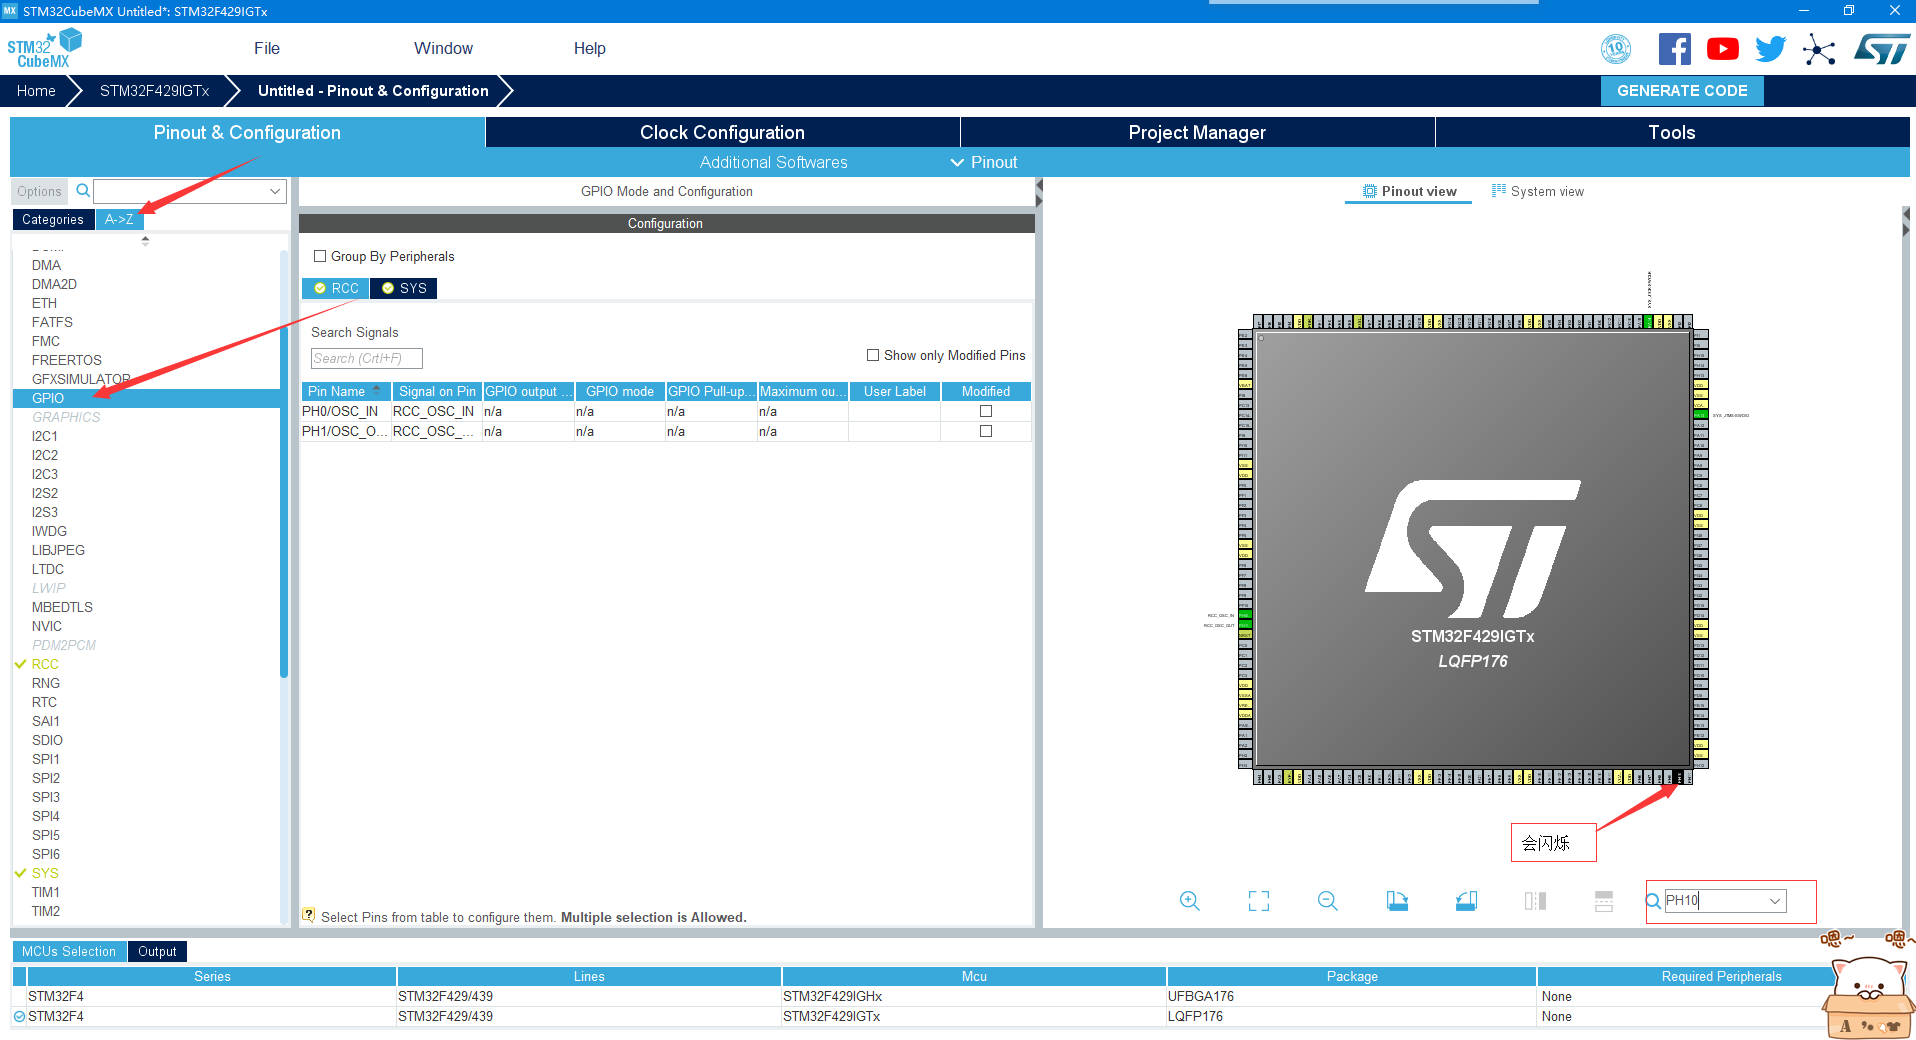
查找IO口

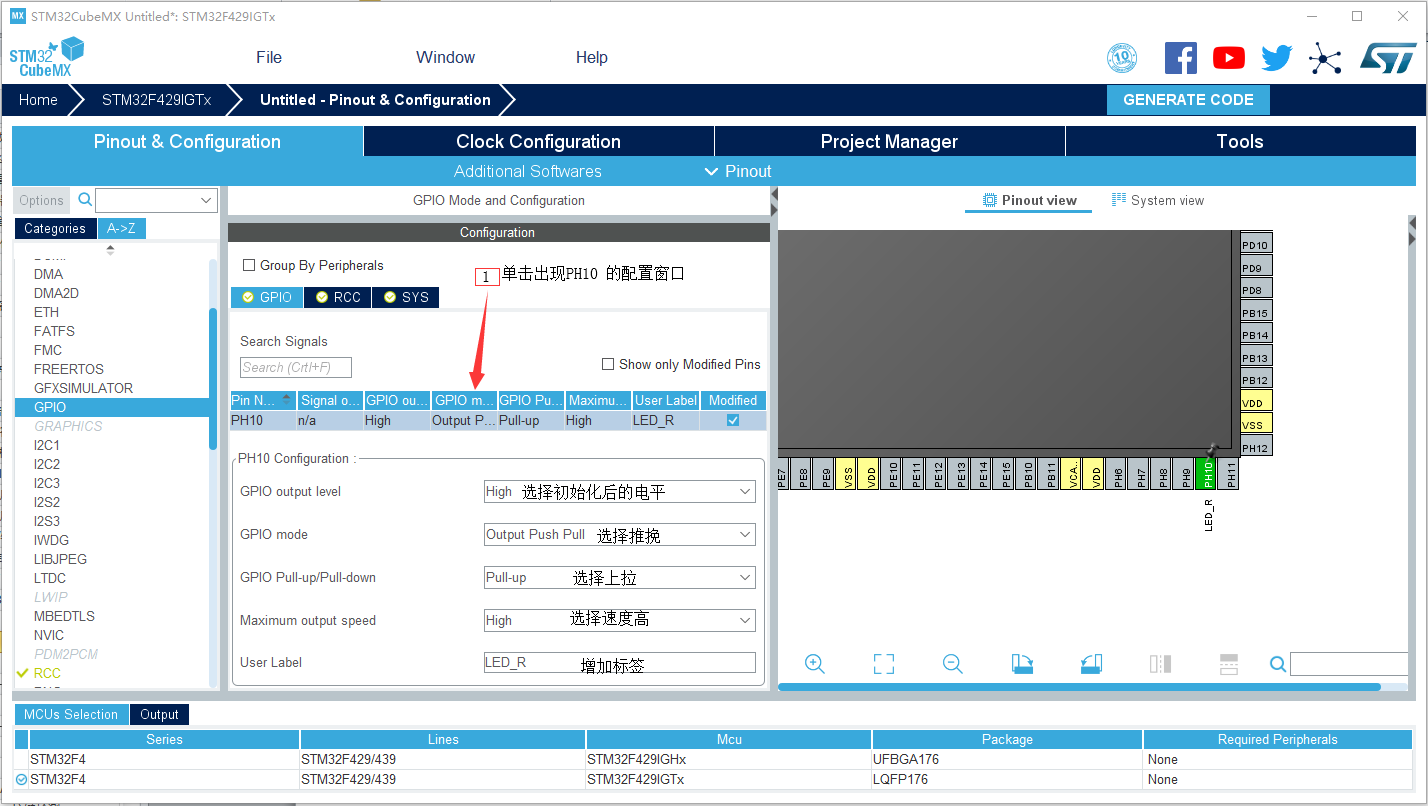
配置IO口属性
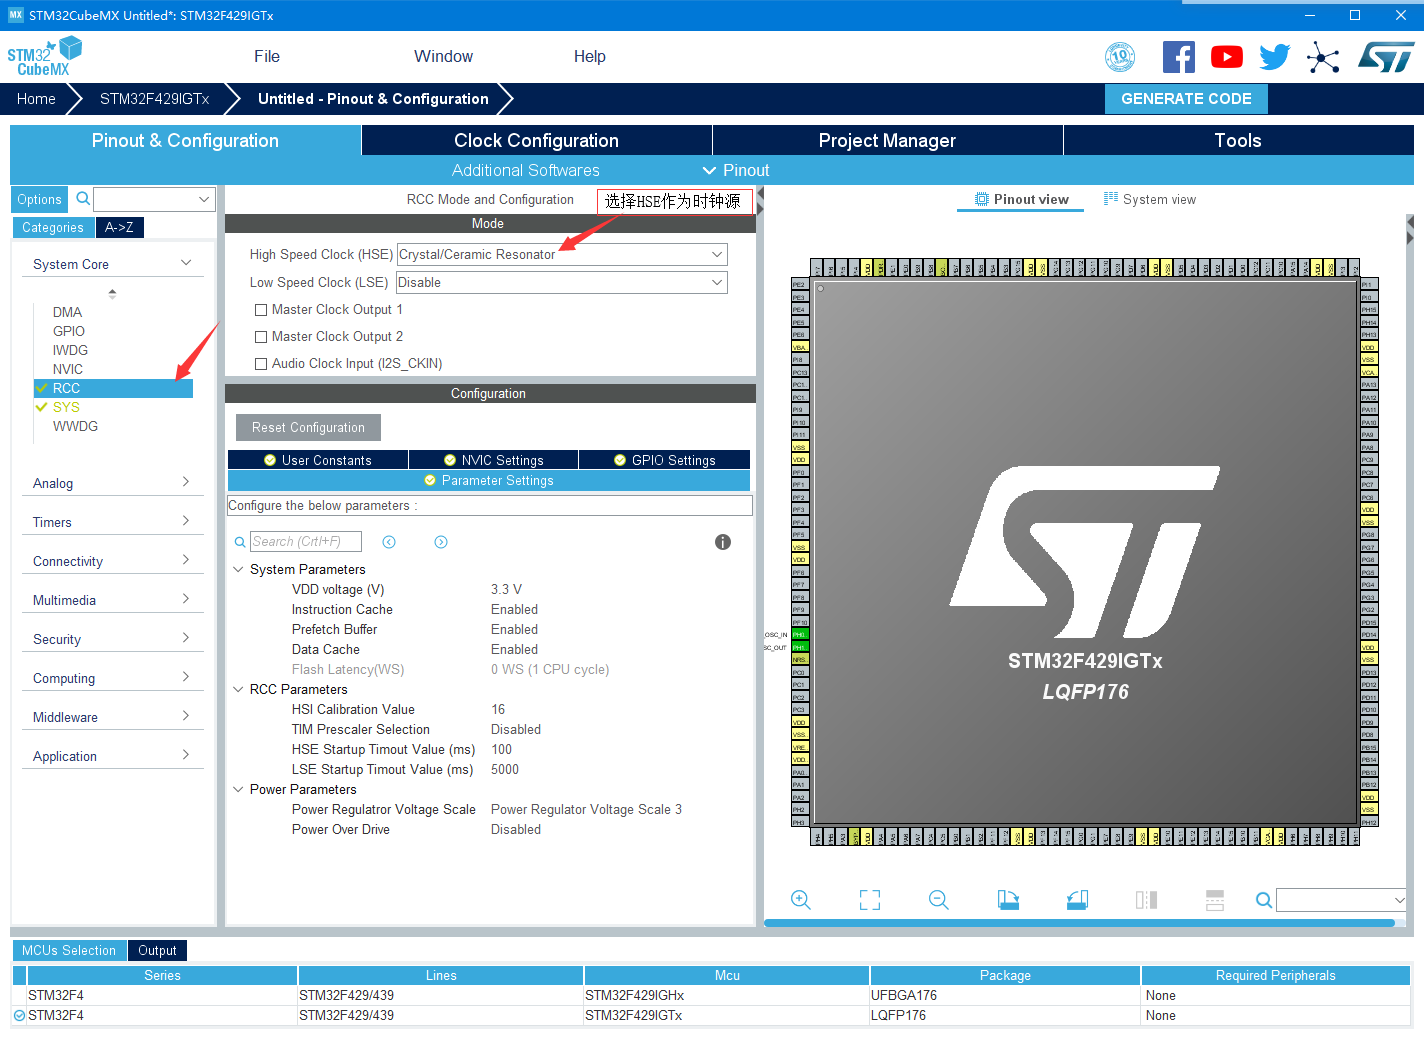
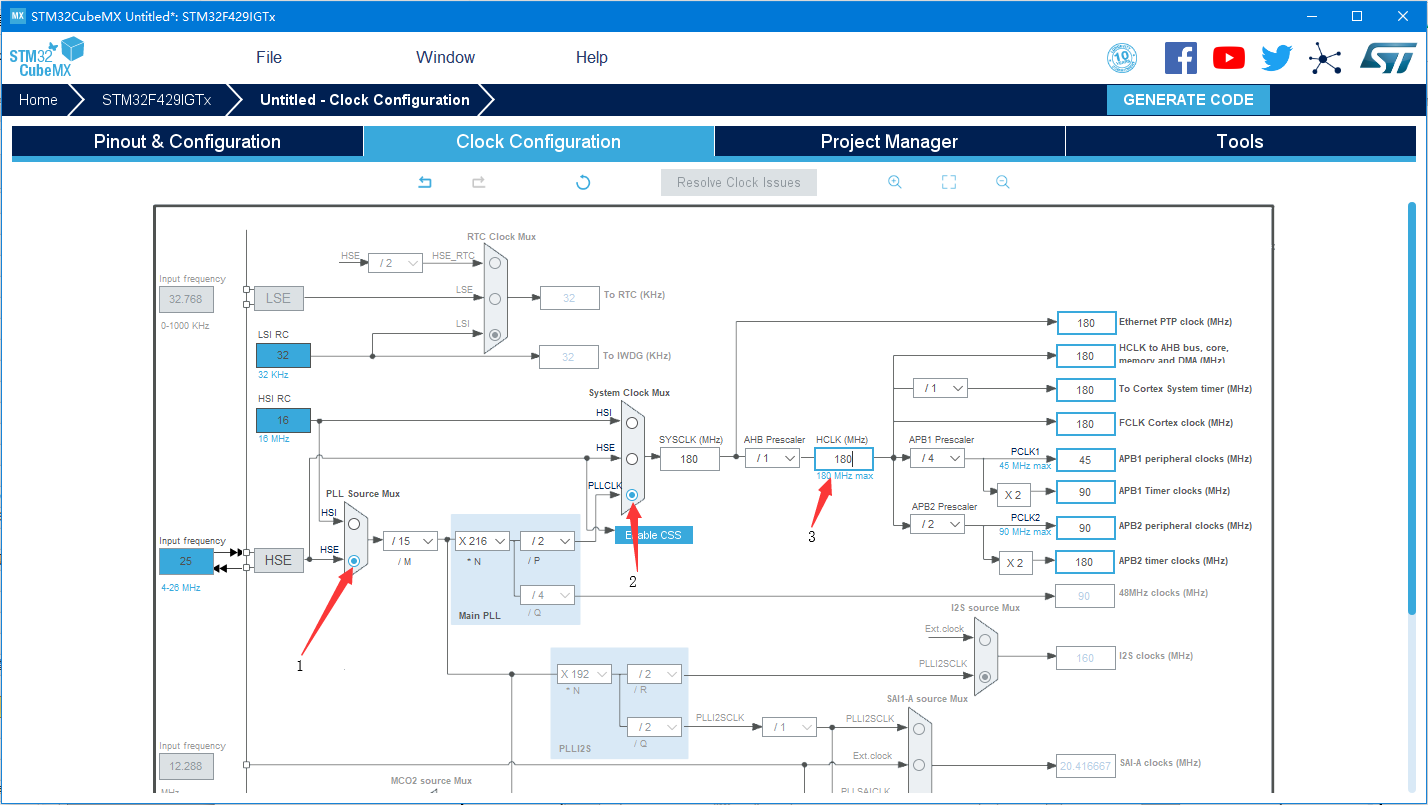
9.2.1.4. 配置系统时钟
开发板的外部晶振为25MHz,我们填入25;通道选择HSE;System Clock Mux选择PLLCLK, 在HCLK中填入216,然后单击回车,软件即可完成各分频和倍频系数的配置。
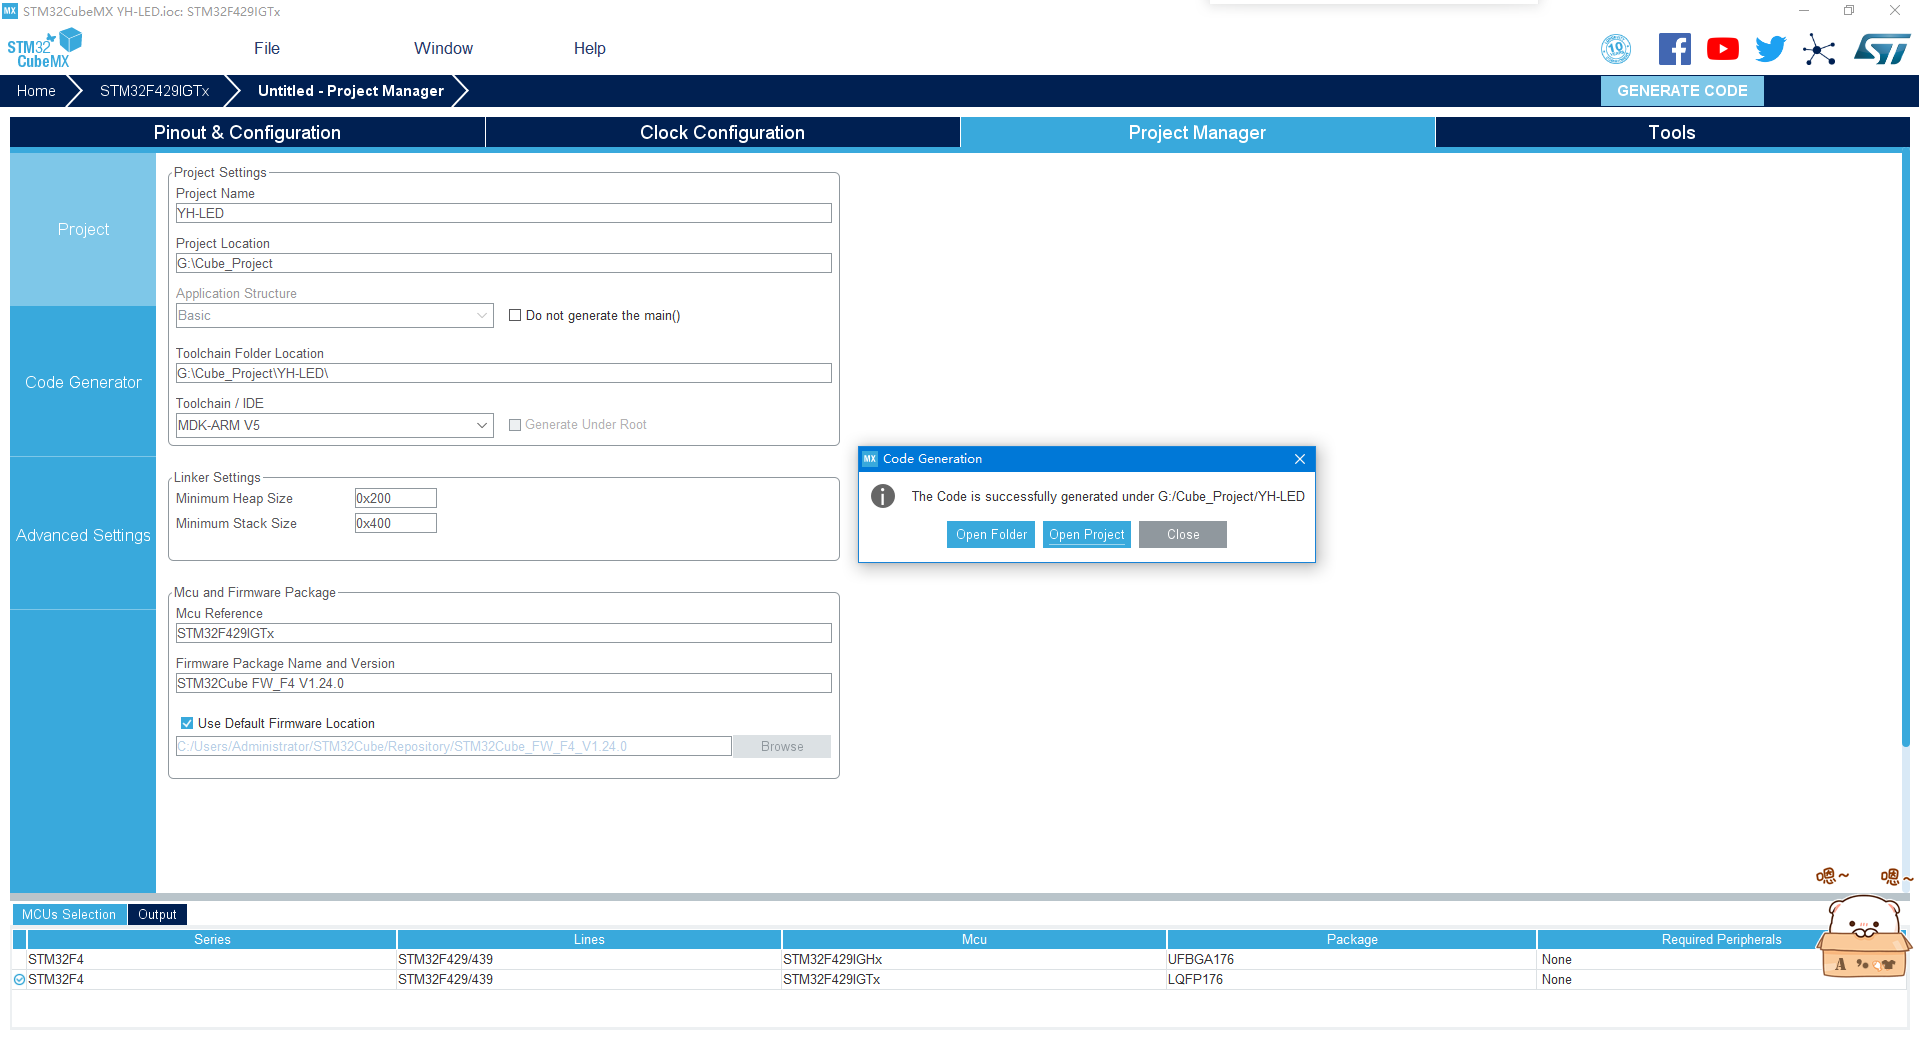
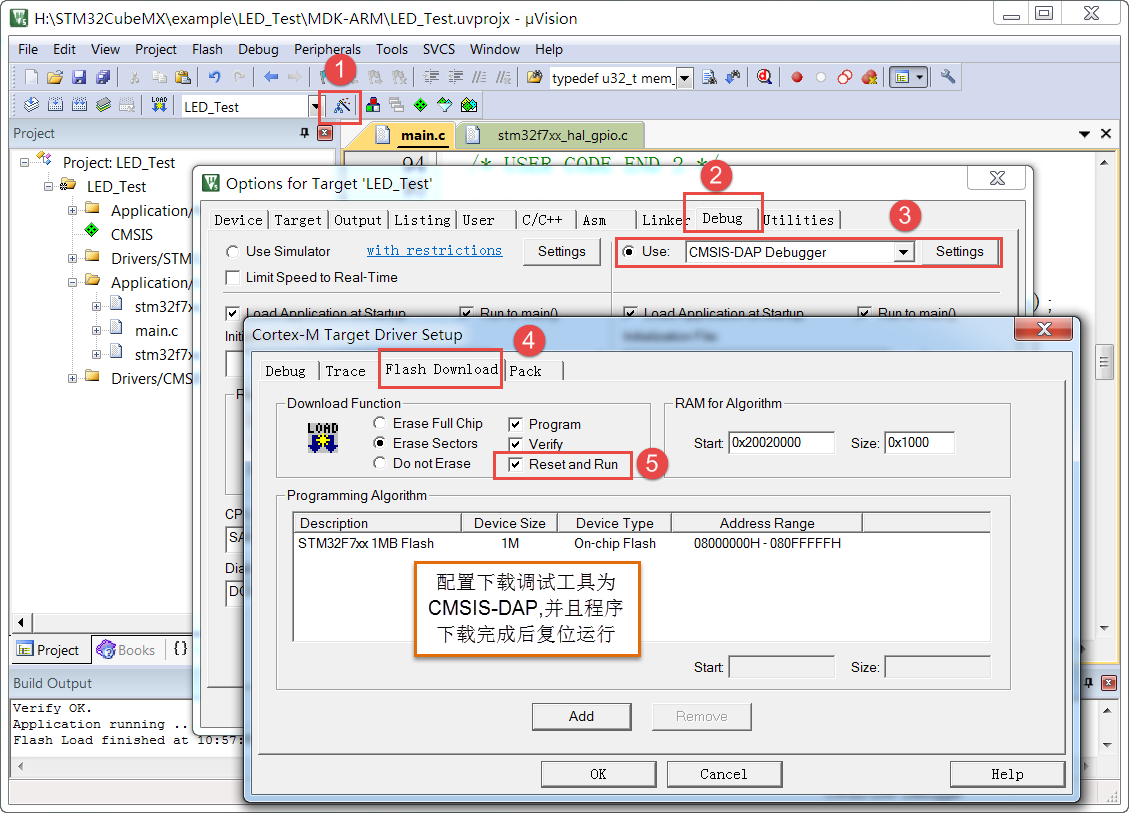
9.2.2. 下载验证
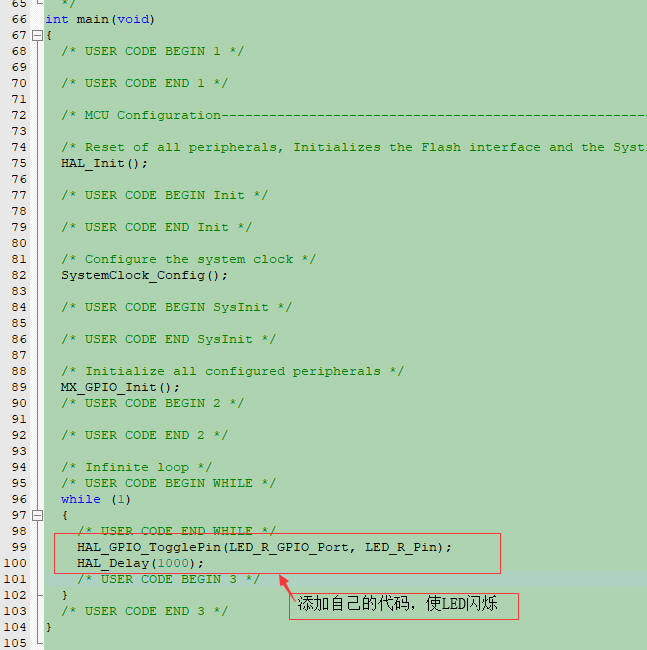
把编译好的程序下载到开发板并复位,可看到板子上的红色灯会周期闪烁。